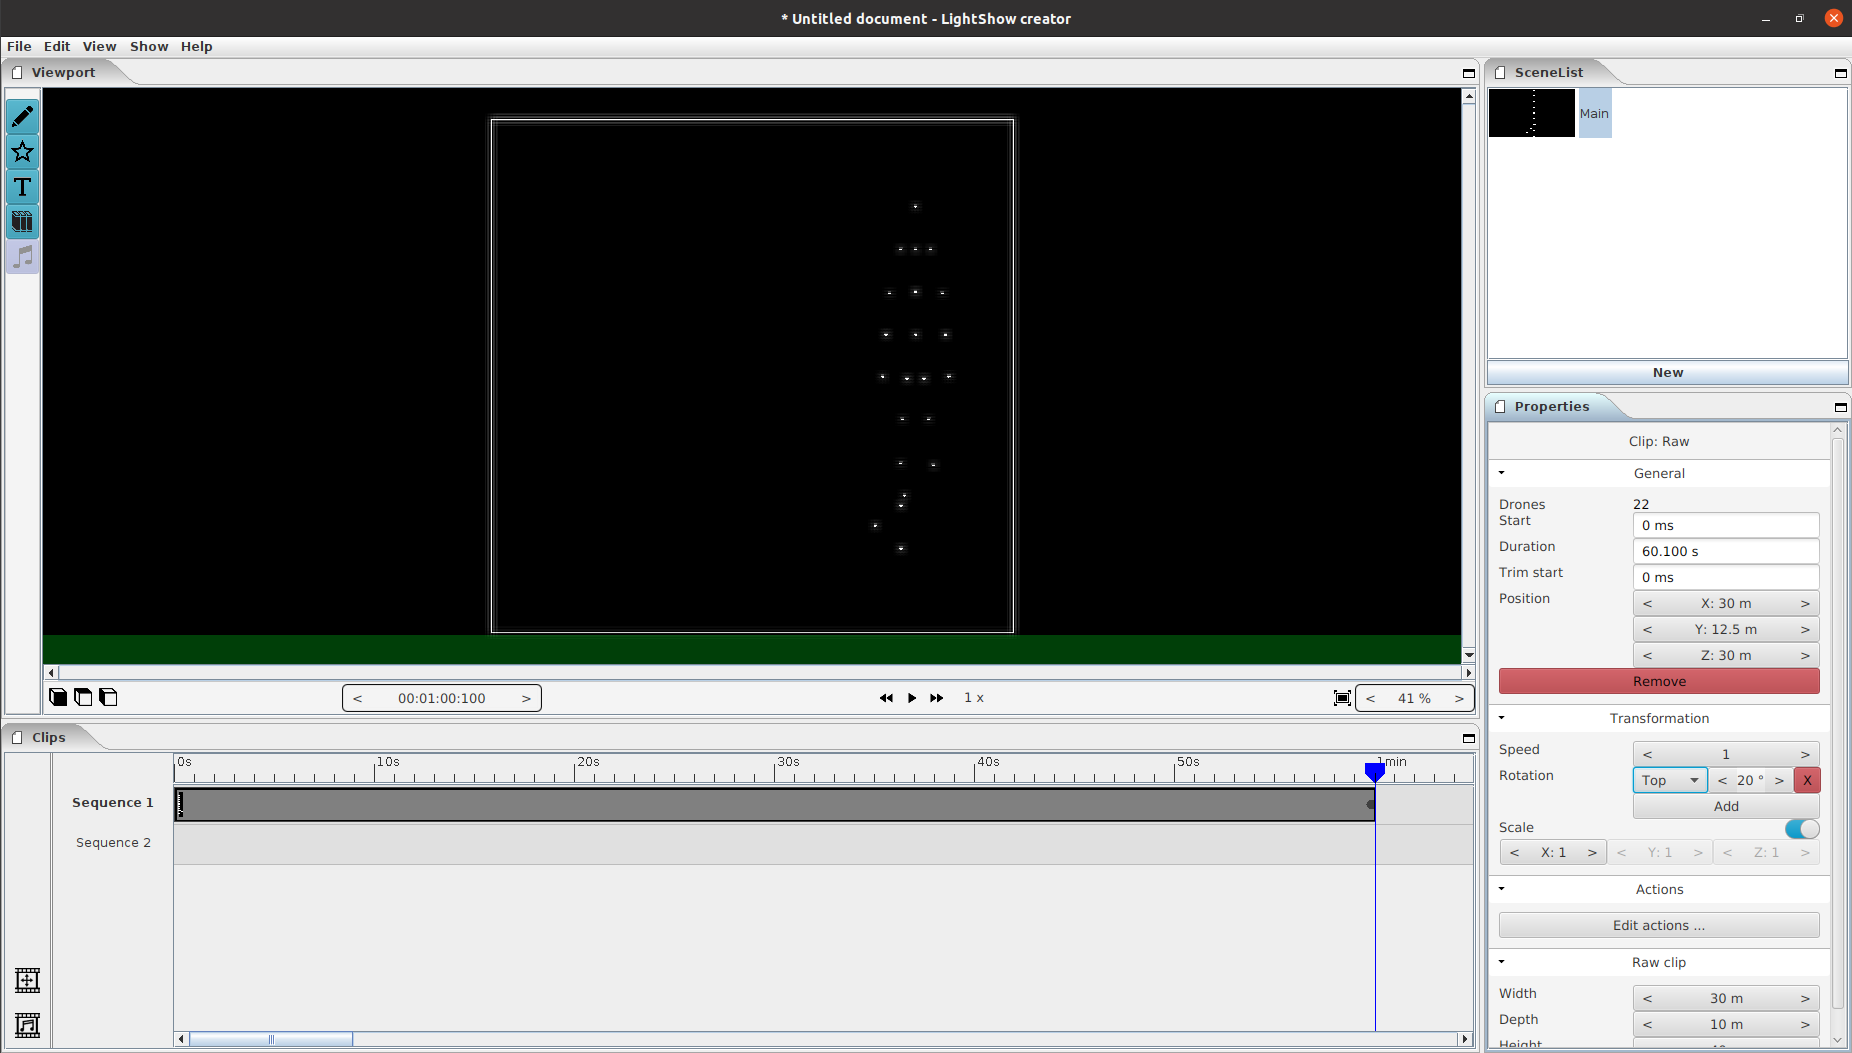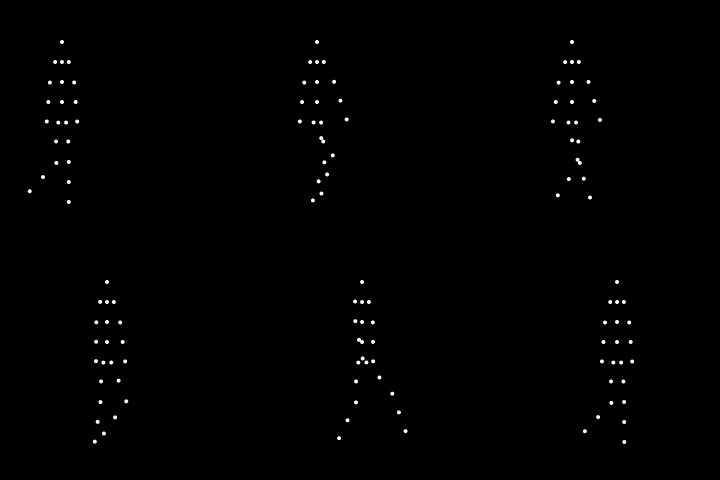
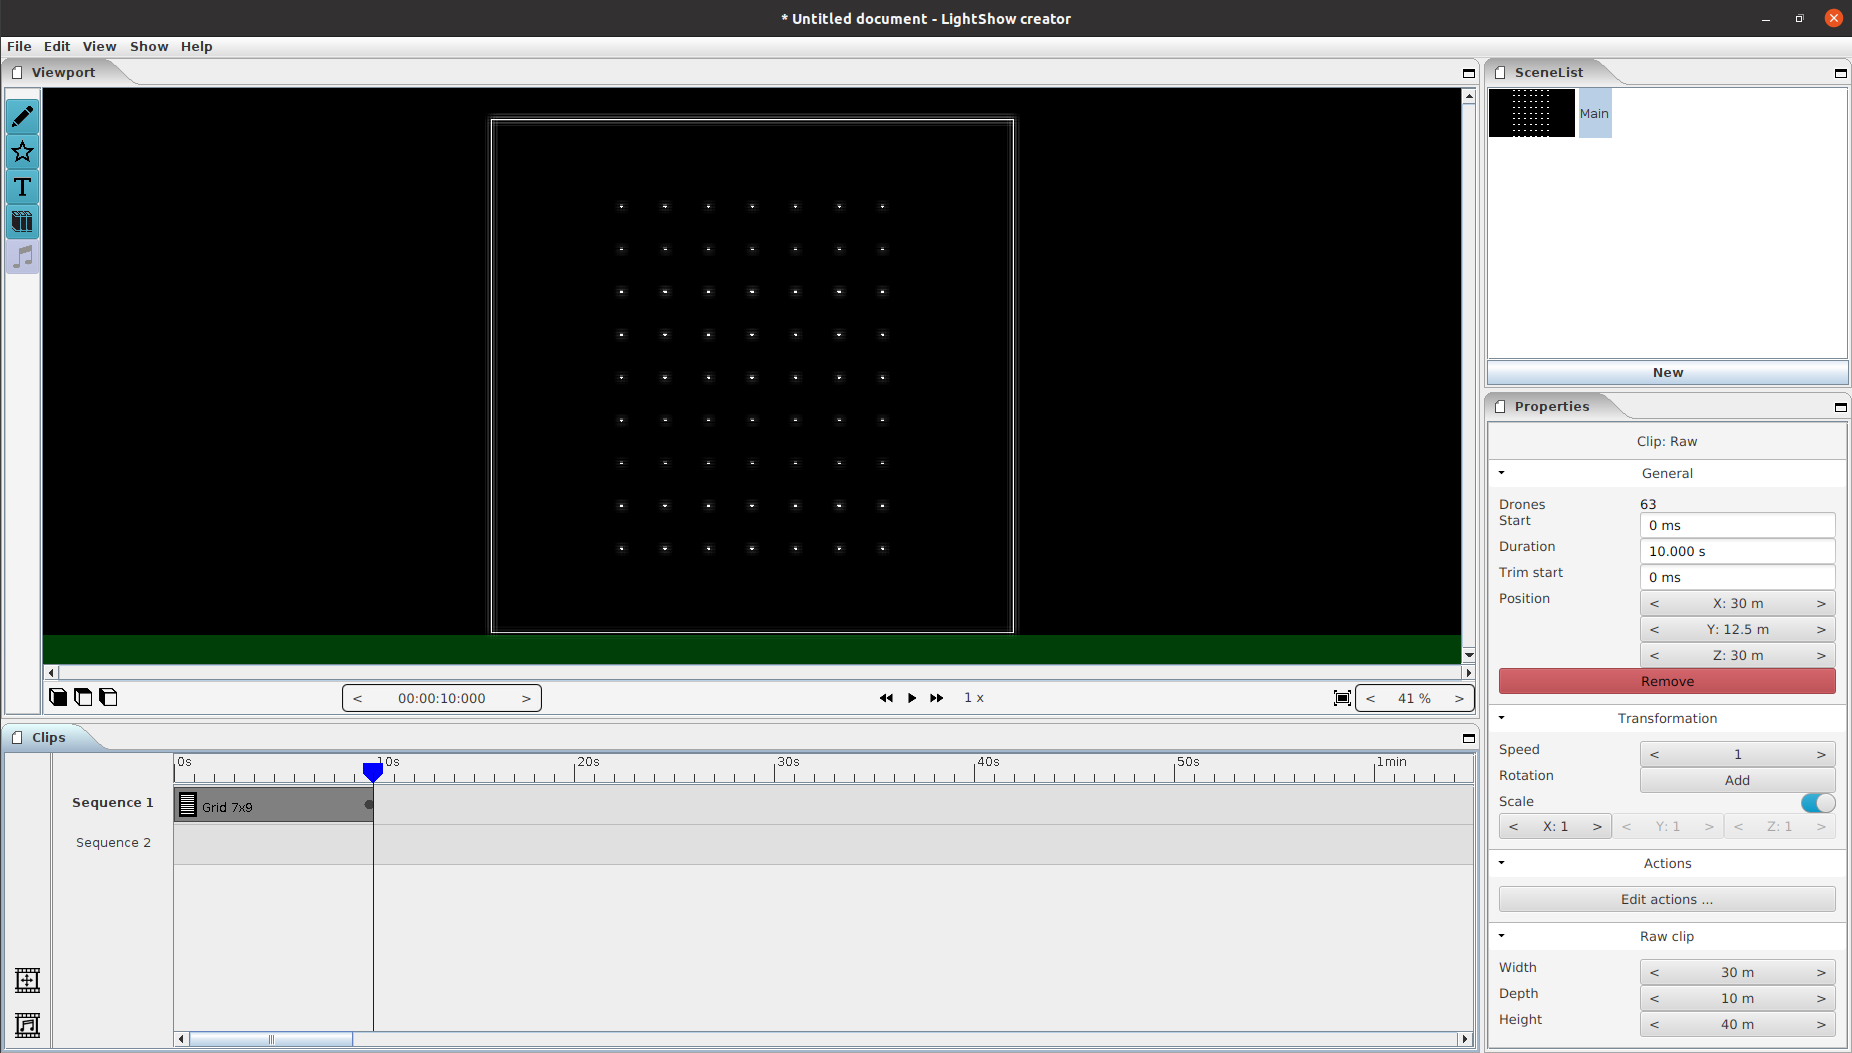
In this tutorial we will learn how to create a walking man in Drone Show Creator.

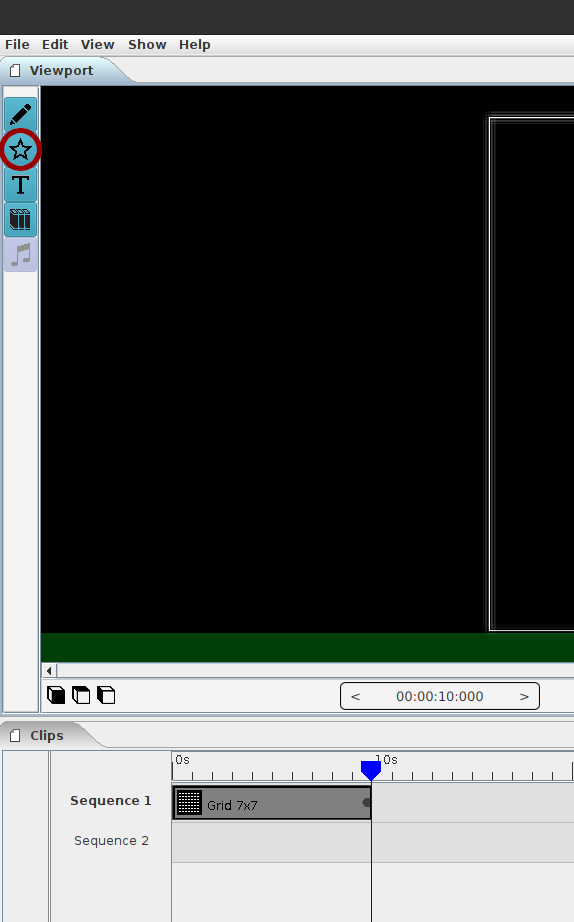
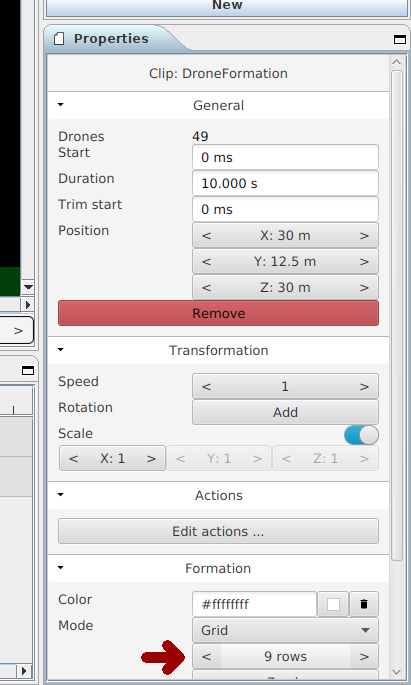
First we start with creating the stick figure. We do this by adding a grid formation to the scene with 9x7 drones. That is the base which we use. After creating a raw figure out of it, we edit the raw figure and remove the unneeded drones.


Now we have a nice grid of drones where we can create our basic shape out of. Here we create a stick man with 22 drones. But it is possible to use more drones and add more fancy features to the sticky man.
1) Select the unneeded drones and remove them using the delete button. To create the sticky man.
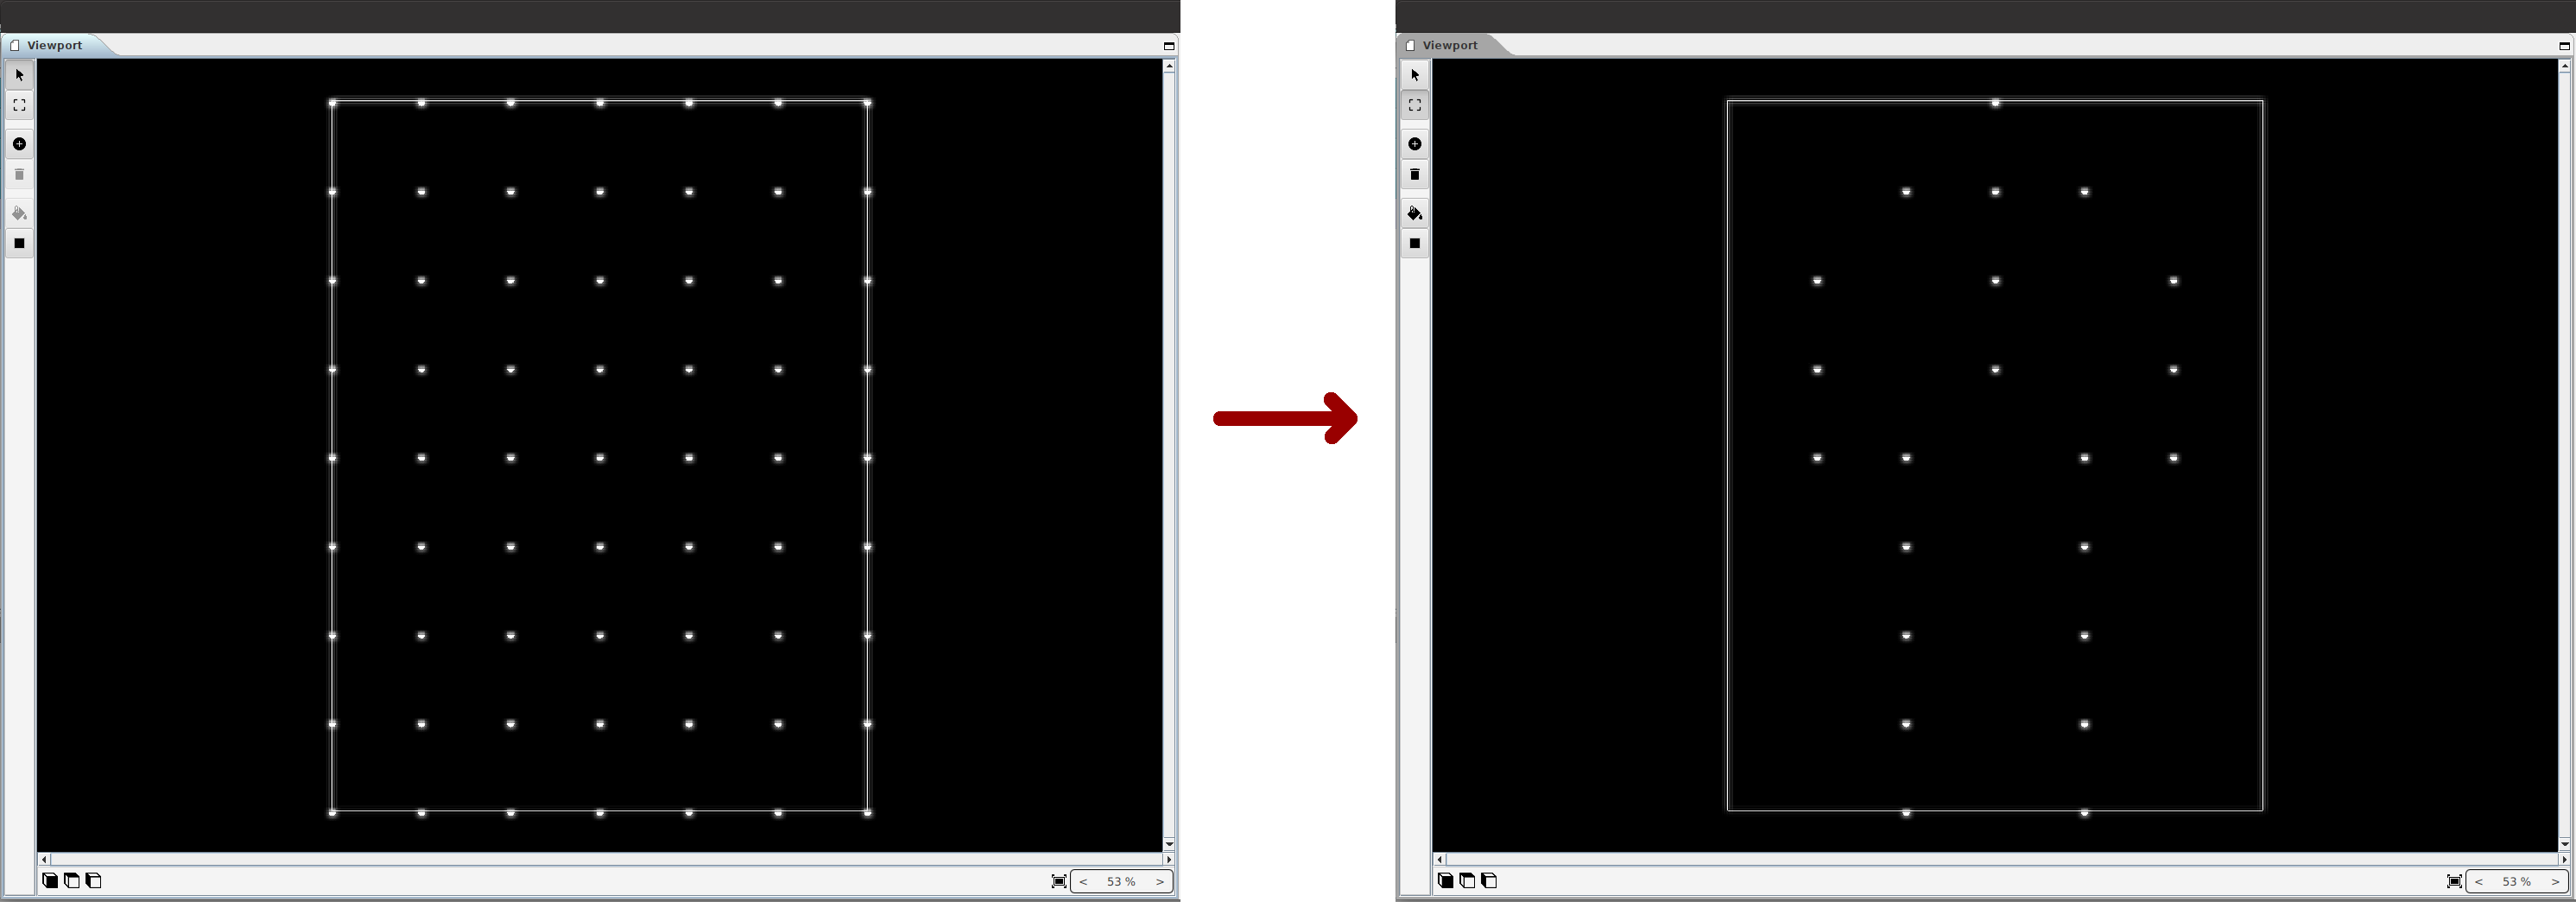
2) Now we rotate the drones representing the limbs to make the figure less straight. This can be done using the Transform tool. By first selecting the drones and pressing the transform tool. Rotating works by dragging outside the selected drones. Moving works by dragging inside the selected drones or using the keyboard arrows.
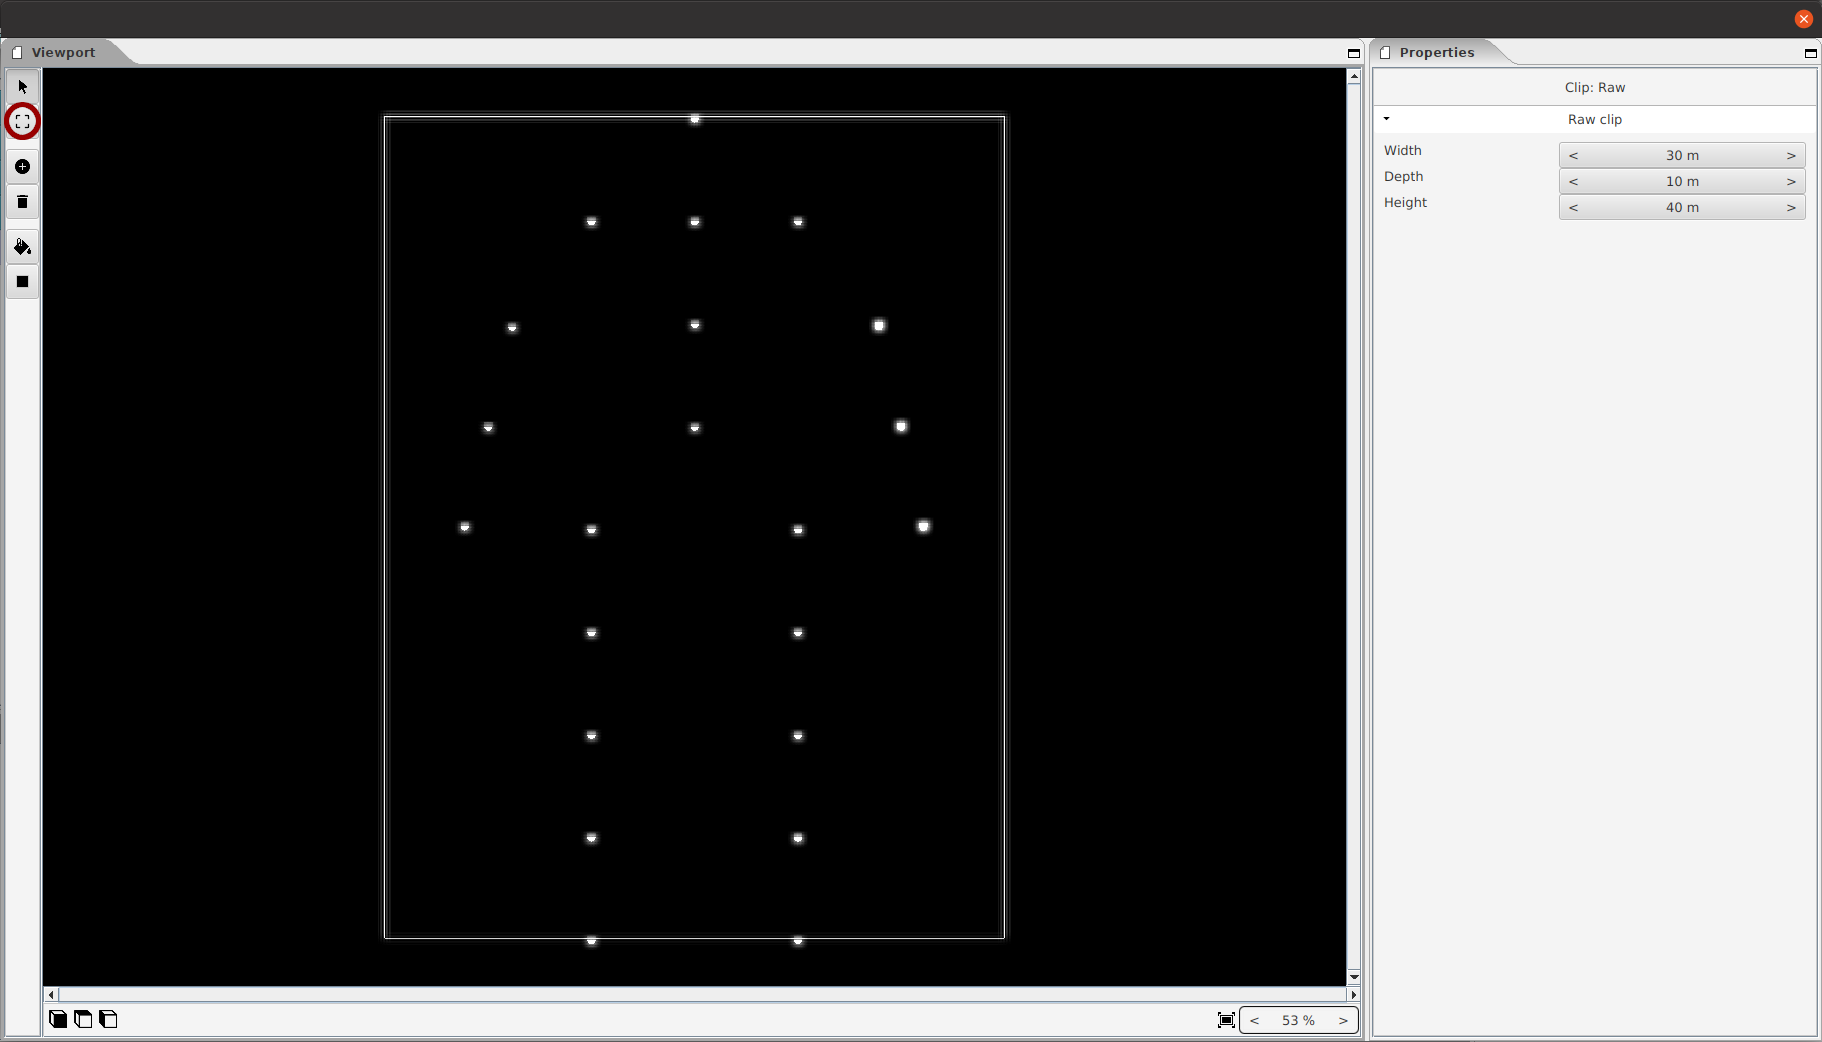
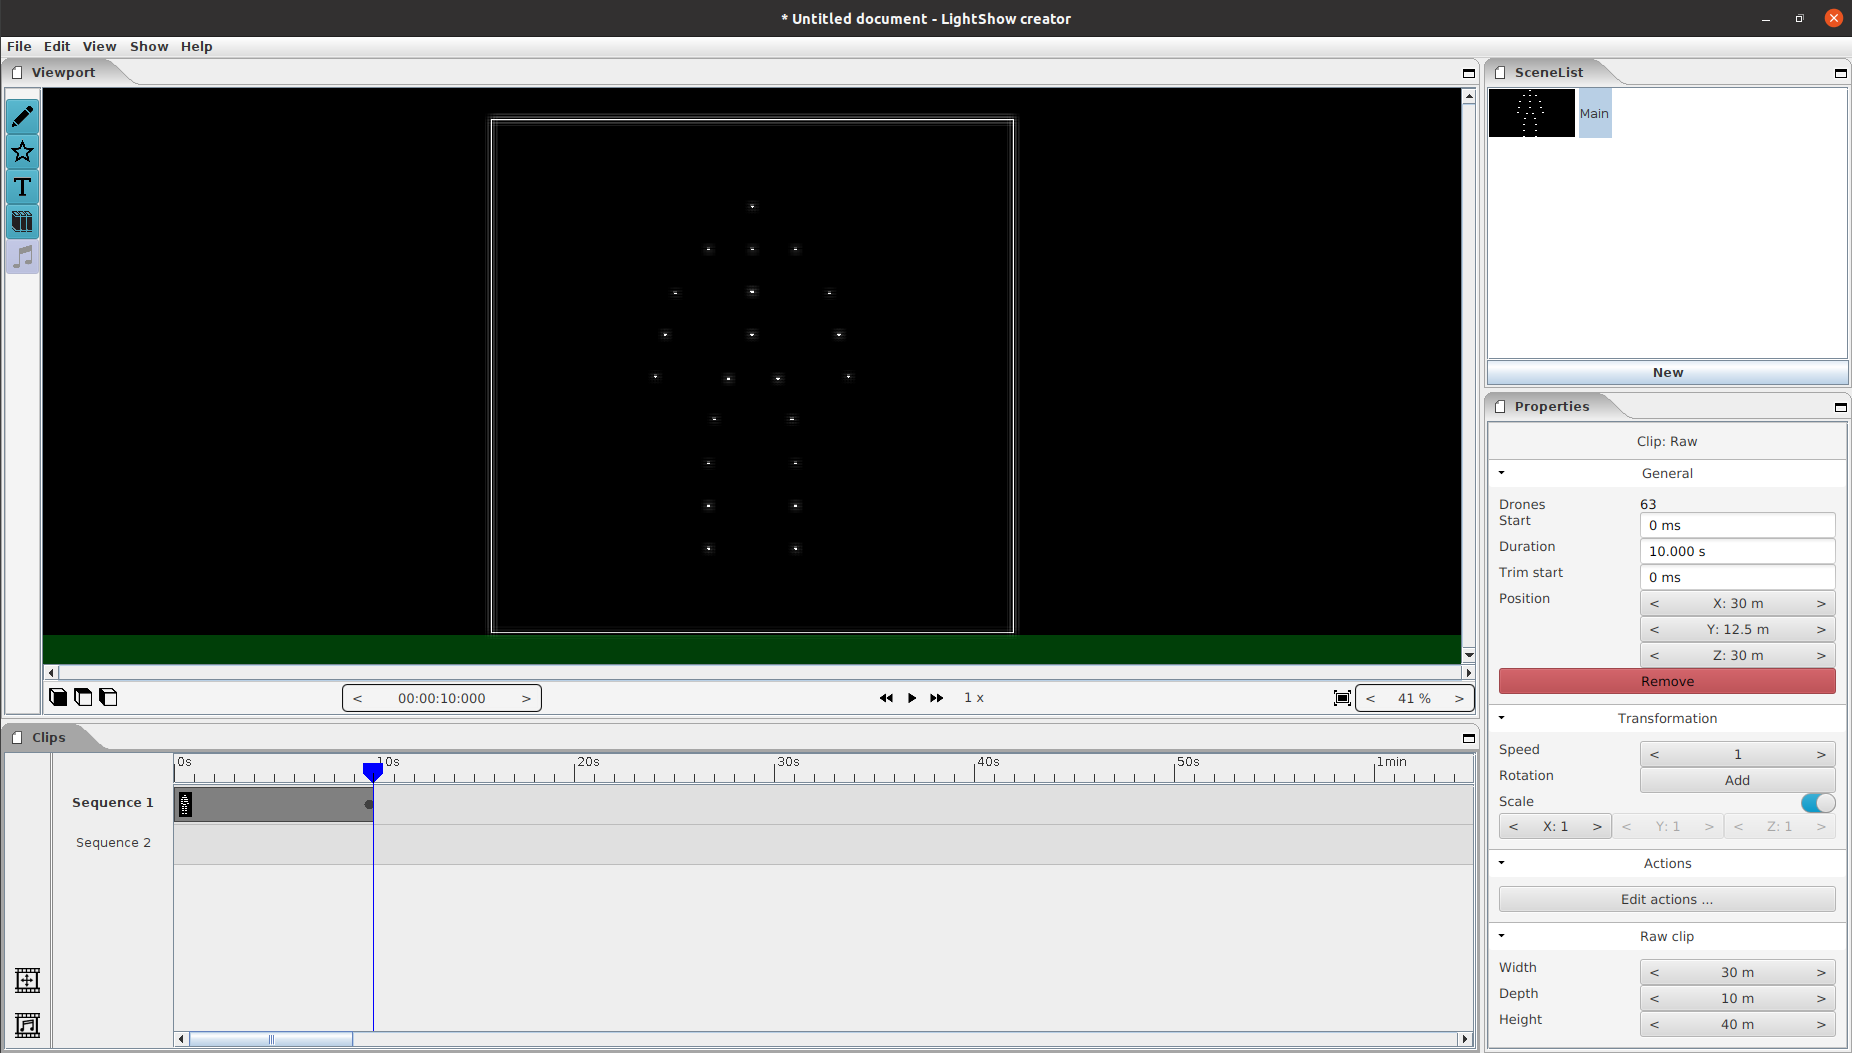
Now that we have our stick figure we can animate it. We do this by going to the action screen. In the action screen we will first rotate the image sideways. That makes it easier to see the animation and afterwards add movements for the upper and lower leg.
1) We rotate the figure 90 degrees on the top
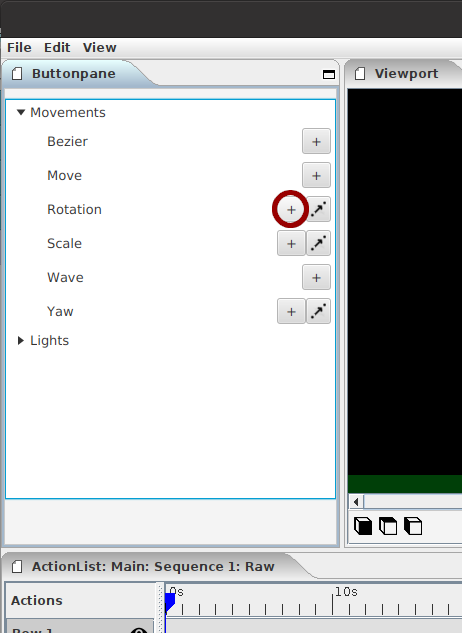
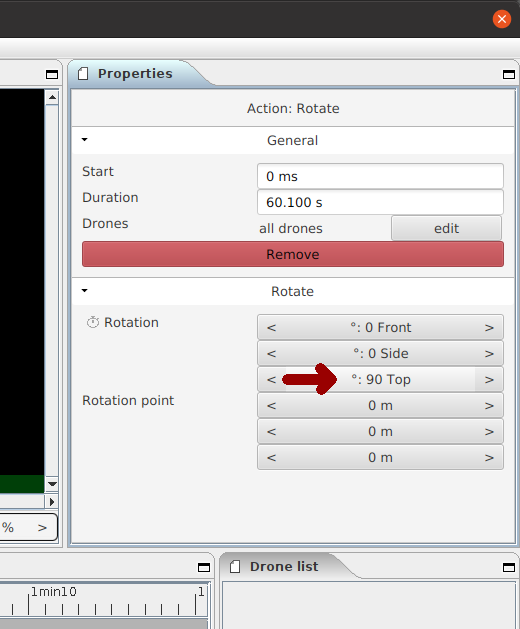
2) Afterwards we rotate our canvas a little bit, making it easier to see the individual drones and be able to select them
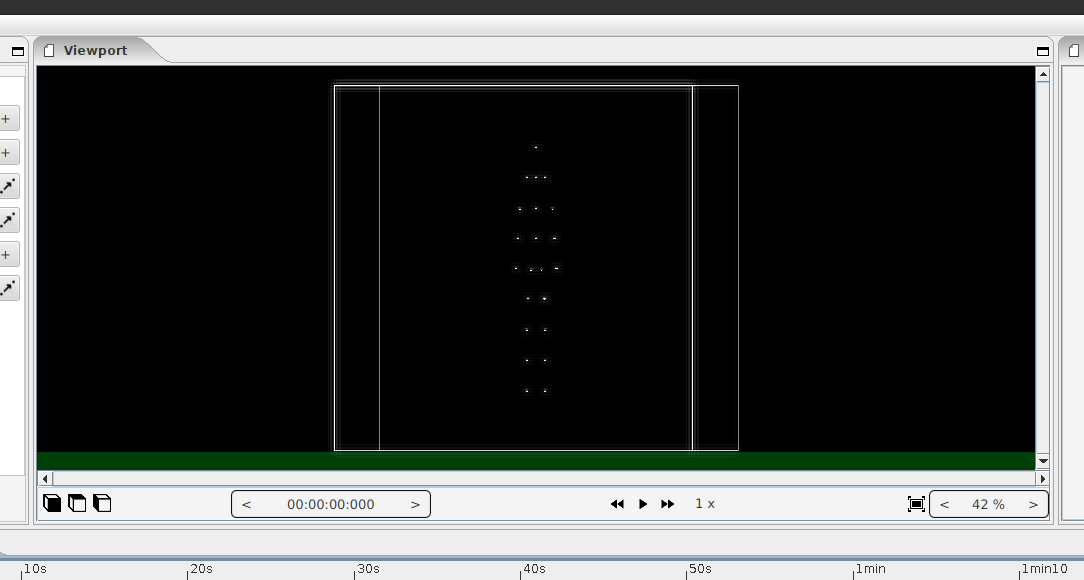
3) Now we select the bottom 3 drones from the front leg. And add again a rotation. This time a moving rotation.
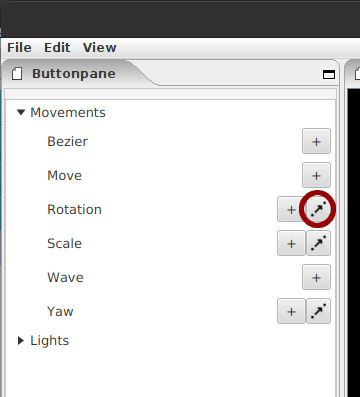
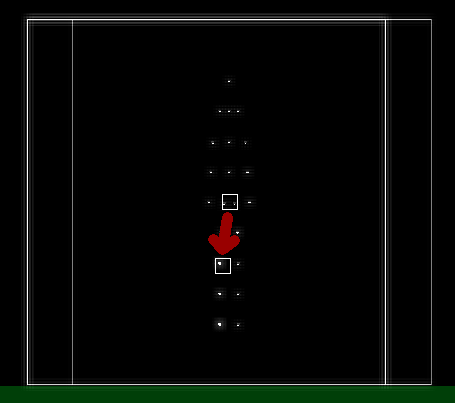
4) We add another rotation but for the whole leg. (I.e. for the 5 drones of the front leg). This time we leave the rotation point as is.
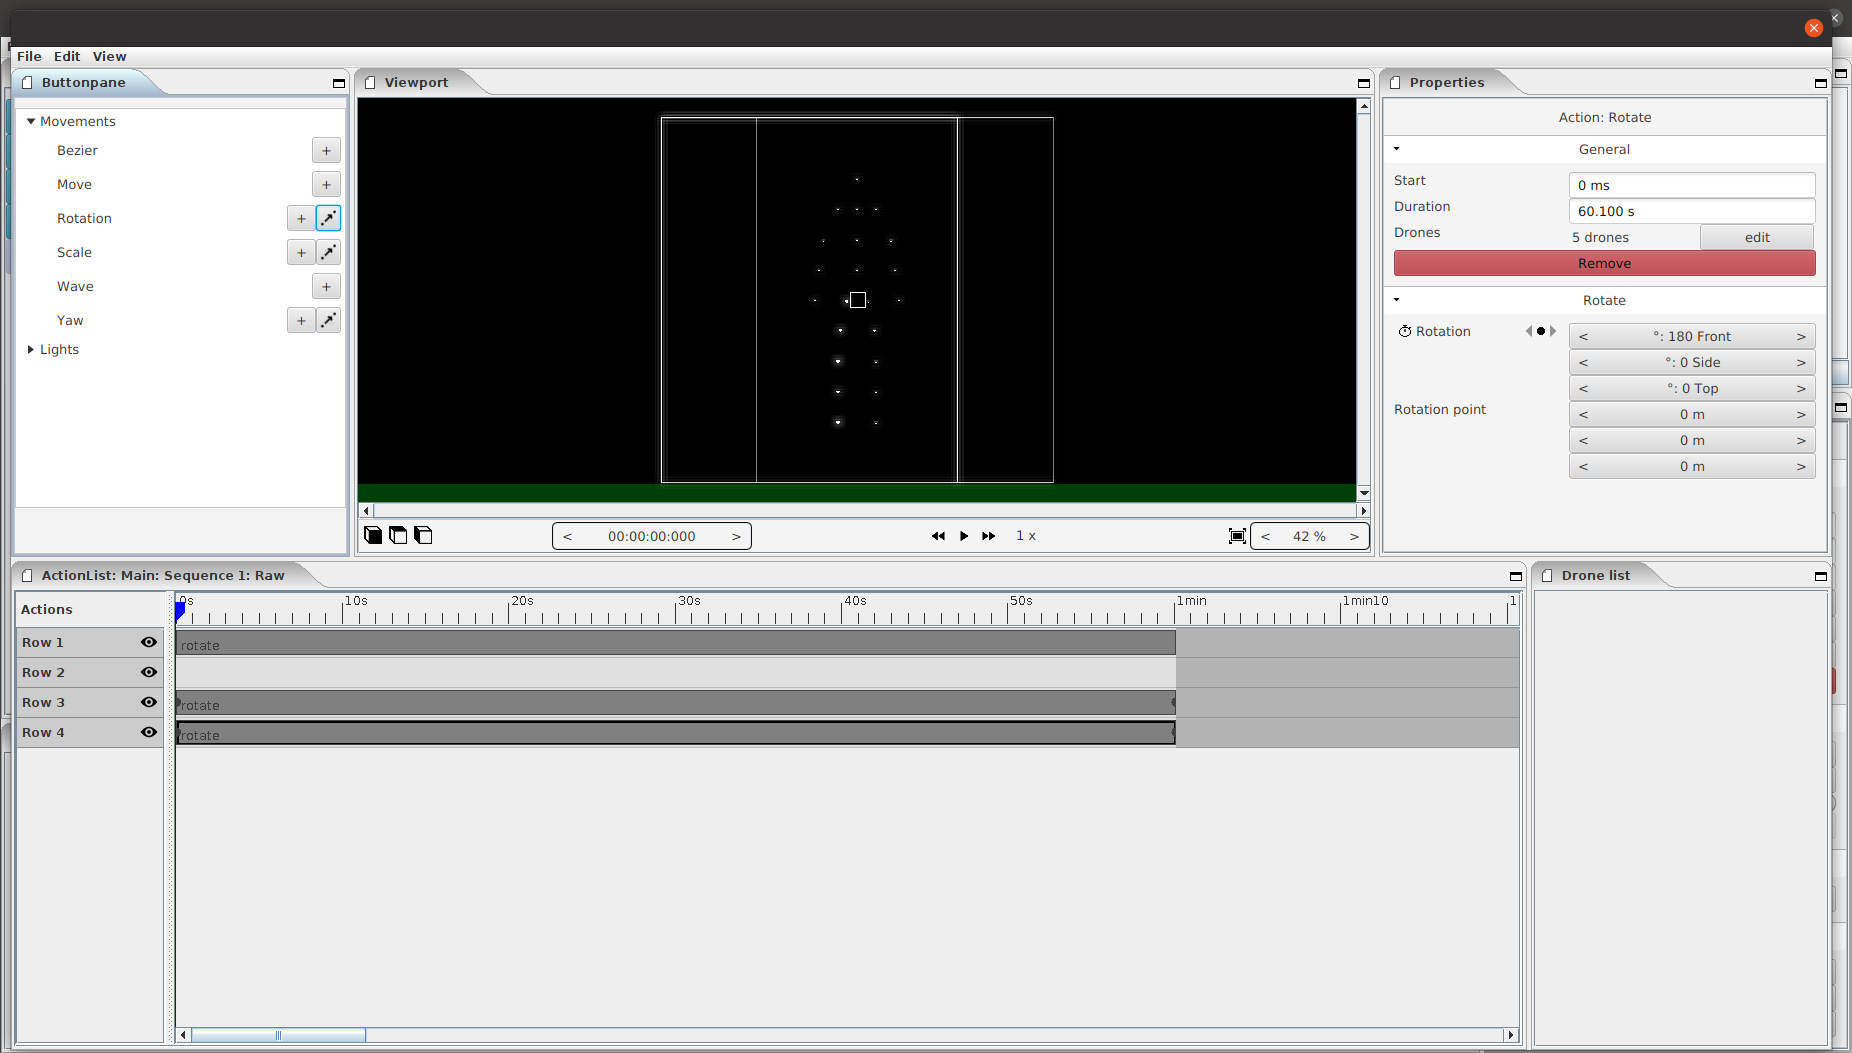
This gives us two rotations. One for moving the leg and one for moving the lower part of the leg. Now we will add keyframes to move the leg. The animations will make sure that the man looks like he is walking.
1) On the rotation of lower part of the leg we add keyframes on:
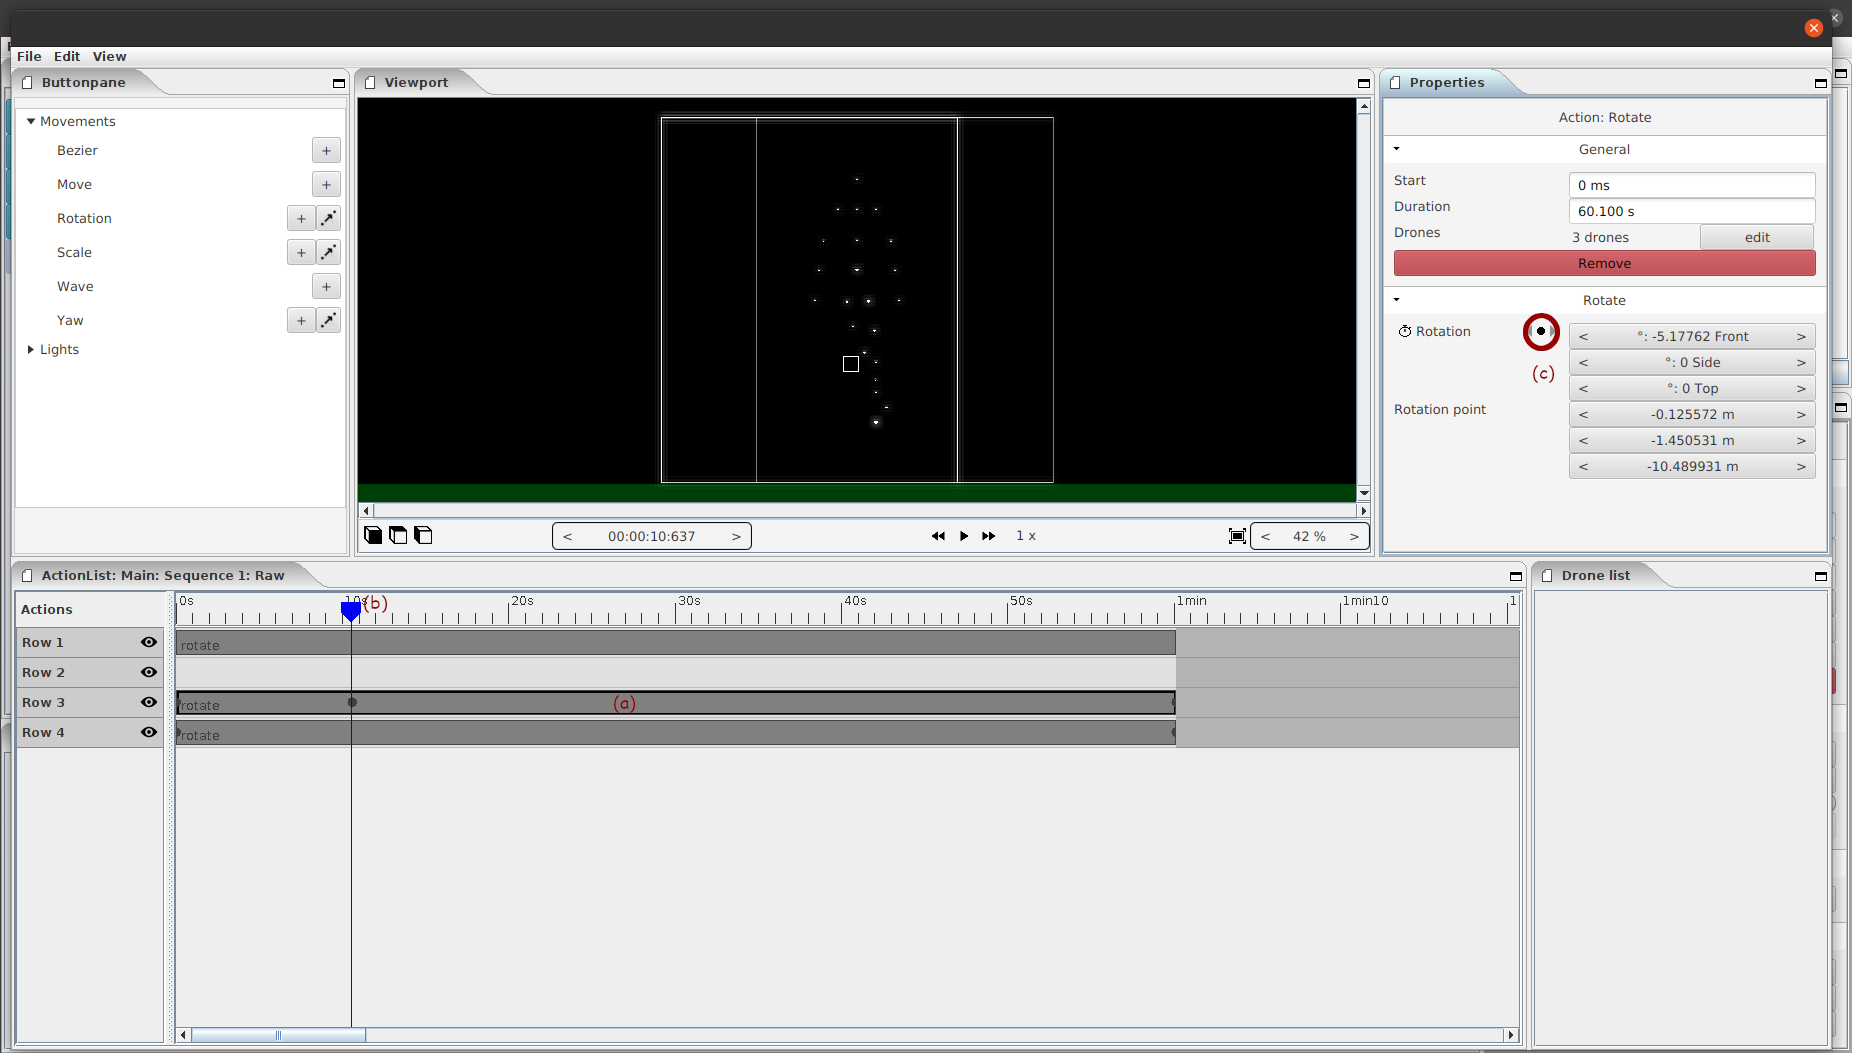
2) We do the same for the rotation of the full leg. Here we add keyframes on:
Now our timeline should like like the following

This will not make the legs move correctly yet. We still need to adjust the rotation at the keyframes to correspond to a walking leg. After playing with the animation I had the following values for the keyframes to create the movement.
| 0 sec. | 10 sec. | 15 sec. | 20 sec. | 30 sec. | 60 sec. | |
| Lower leg | Front: -45 | Front: -60 | / | Front: 0 | Front: 0 | Front: -45 |
| Full leg | Front: 0 | / | Front: 45 | / | Front: 0 | Front: 0 |
You adjust the values by
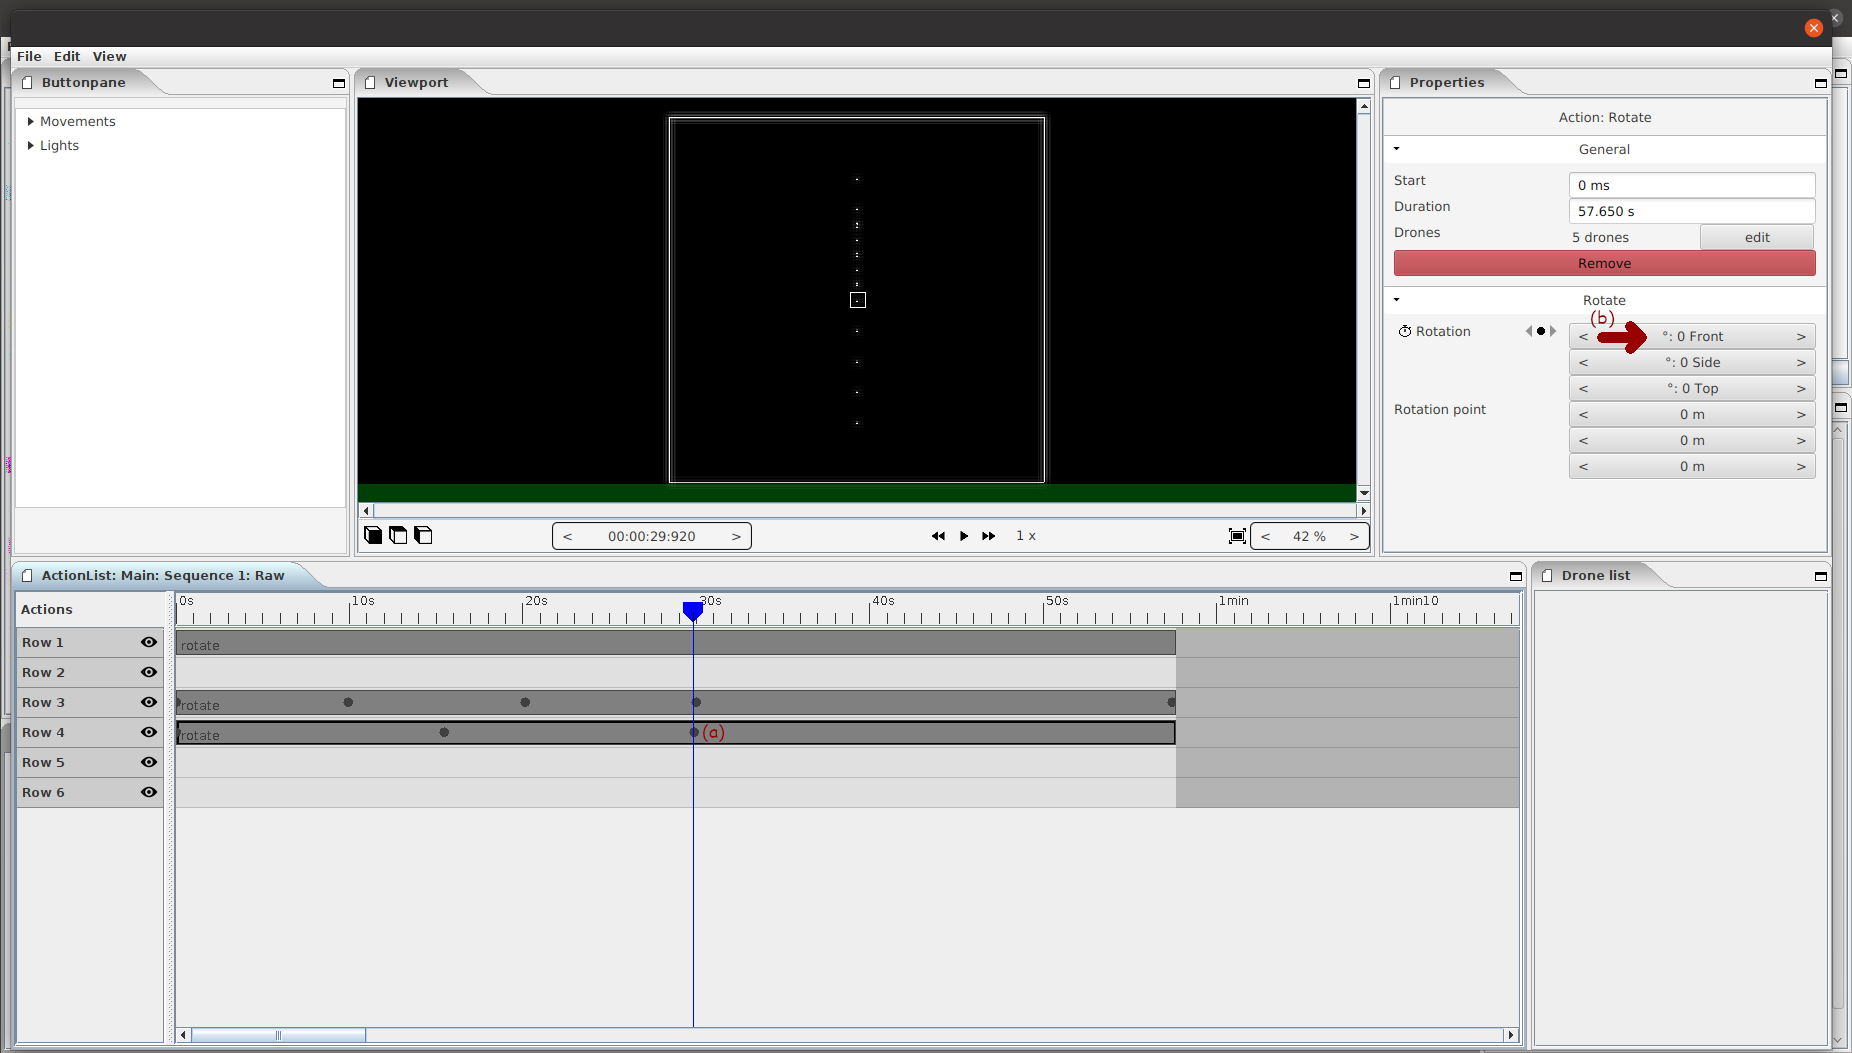
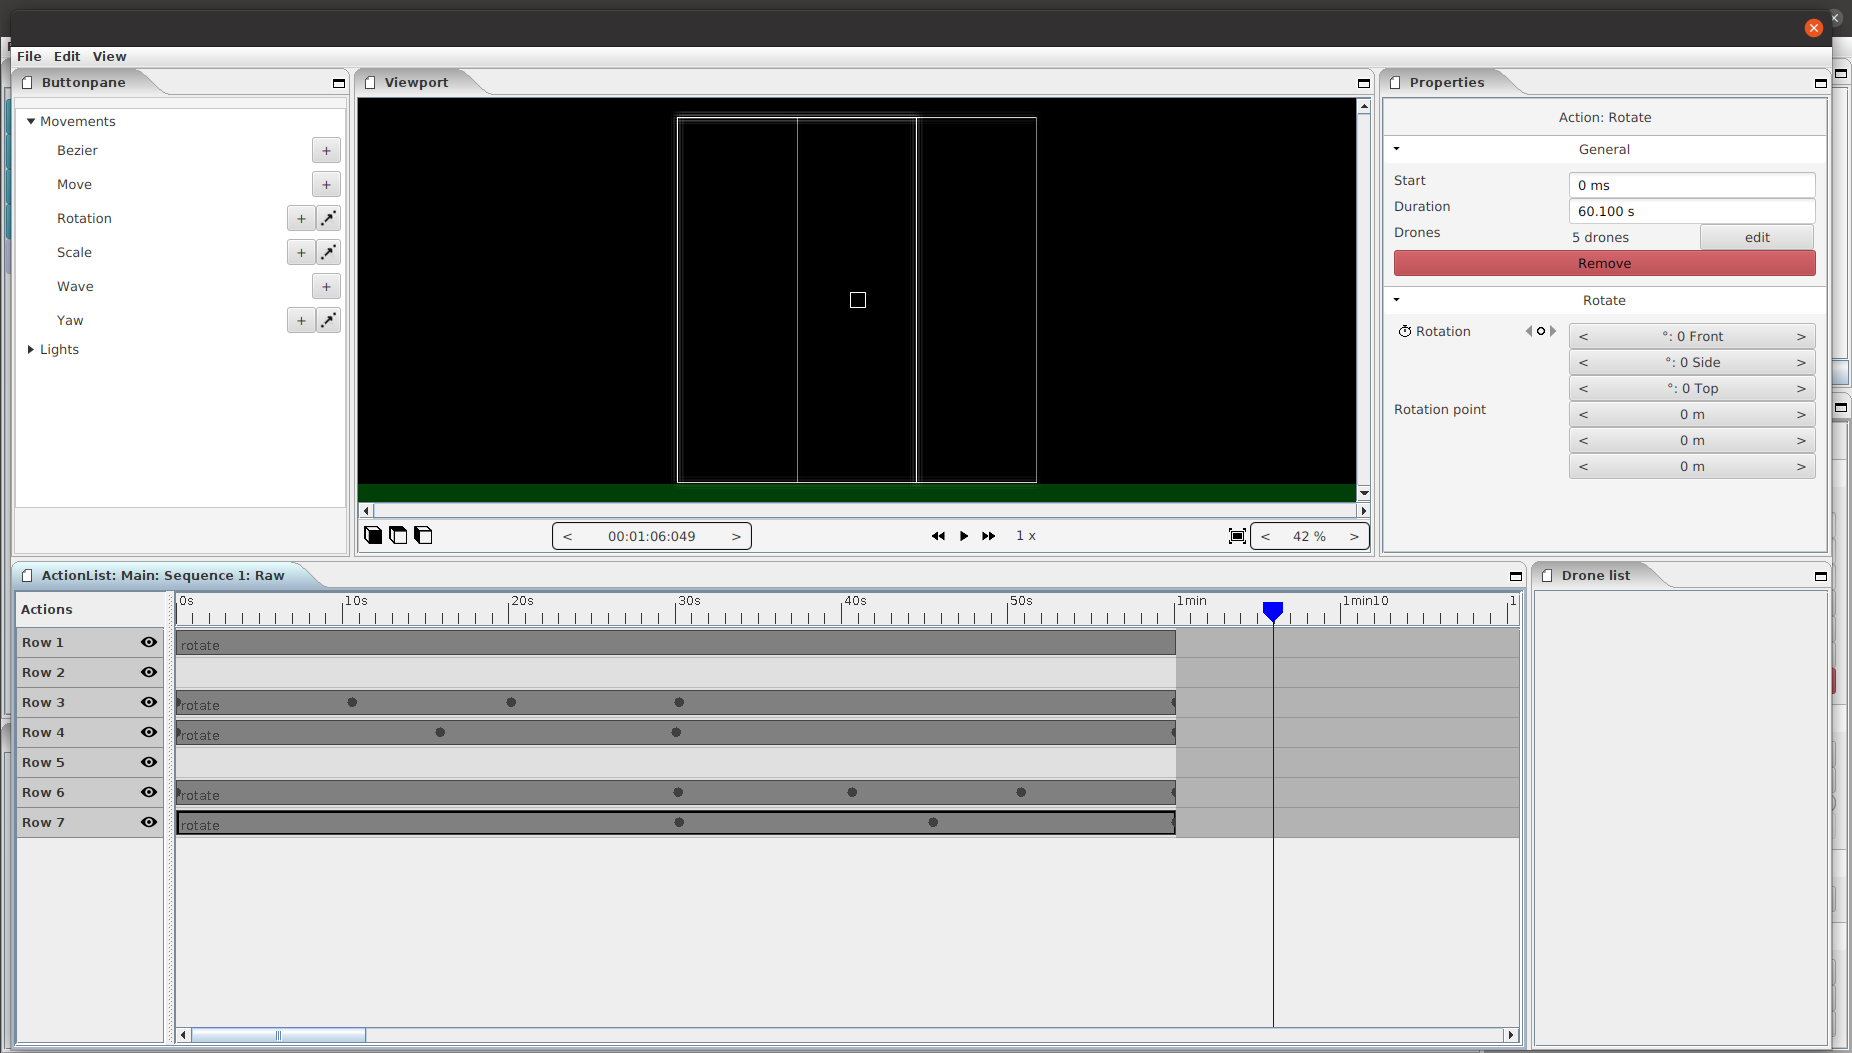
For the second leg we do the same thing.
| 0 sec. | 30 sec. | 40 sec. | 45 sec. | 50 sec. | 60 sec. | |
| Lower leg | Front: 0 | Front: -60 | Front: -45 | / | Front: 0 | Front: 0 |
| Full leg | Front: 0 | Front: 0 | / | Front: 45 | / | Front: 0 |
This will create the following animation.
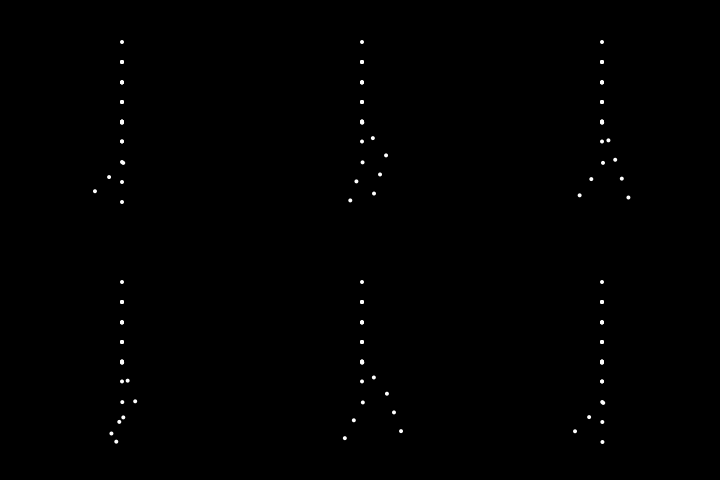
To make the animation a bit more convincing we will animate the arms also. We will wel them swing next to the body.
We should now have something like:
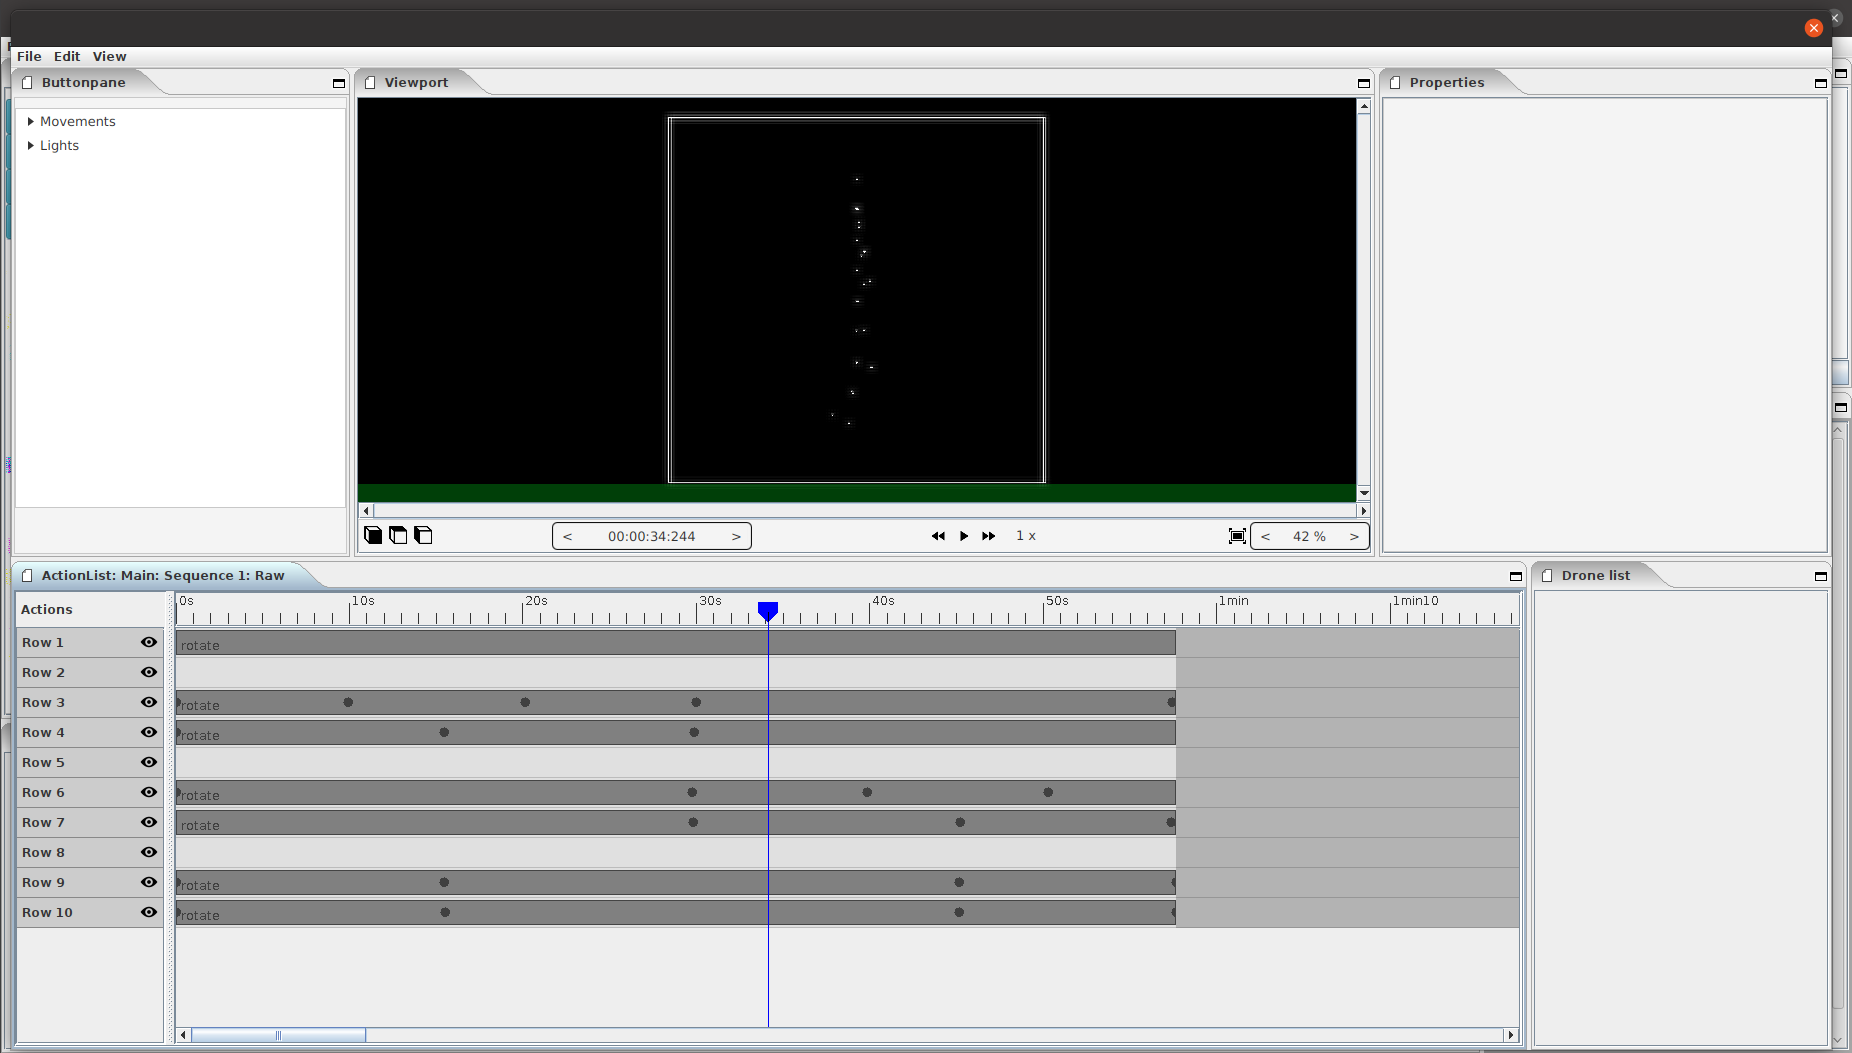
Just like with the other rotation, now we have to adjust the rotation values to make sure the rotations look like moving arms. After a bit playing I used the following values:
| 0 sec. | 15 sec. | 45 sec. | 60 sec. | |
| Foreground arm | Front: 0 | Front: -5 | Front: 20 | Front: 0 |
| Background arm | Front: 0 | Front: 20 | Front: -5 | Front: 0 |
Now that we have animated the limbs, we still need to move the man forwards. That is now easily done by adding a “move” action and letting it move 20 meters forward.
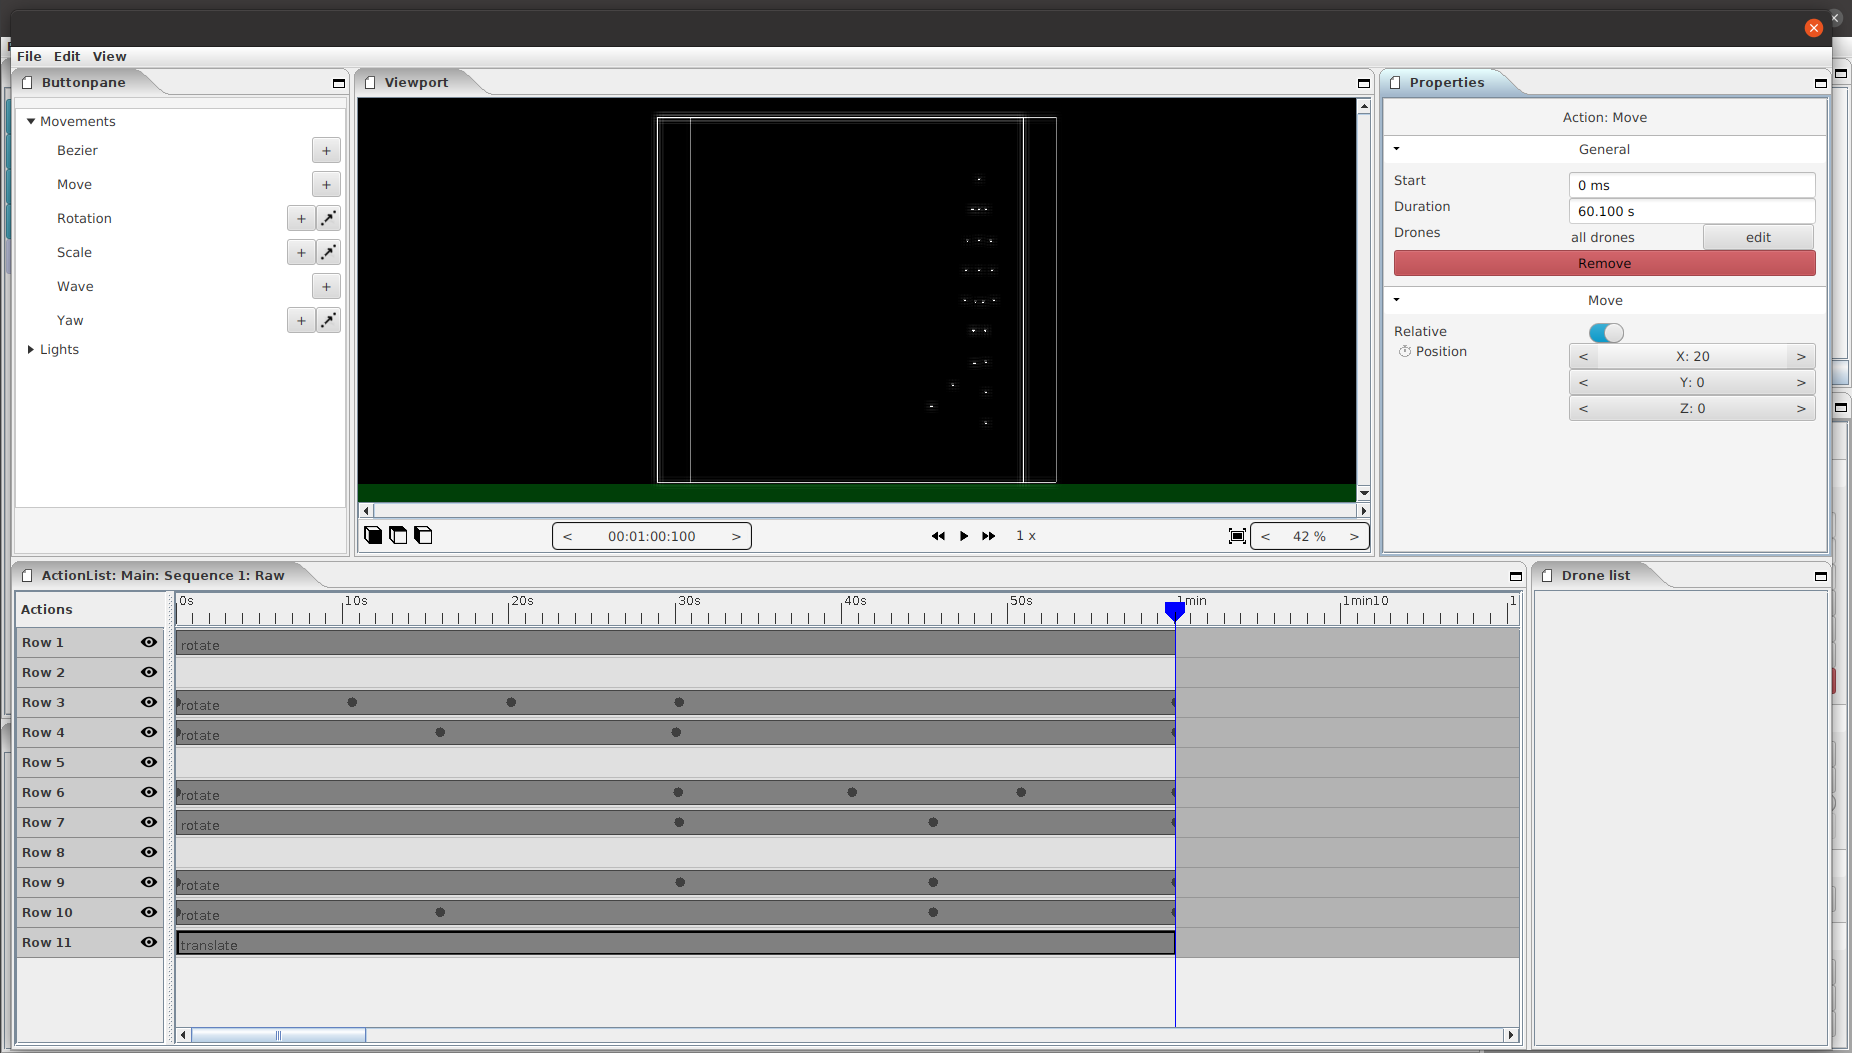
Now we close this window and go back to the main screen. Here we can rotate the walking man a little bit (I used a top rotation of -20). That gives a better view of our walking man.
