4.2. Navigating the 3D view
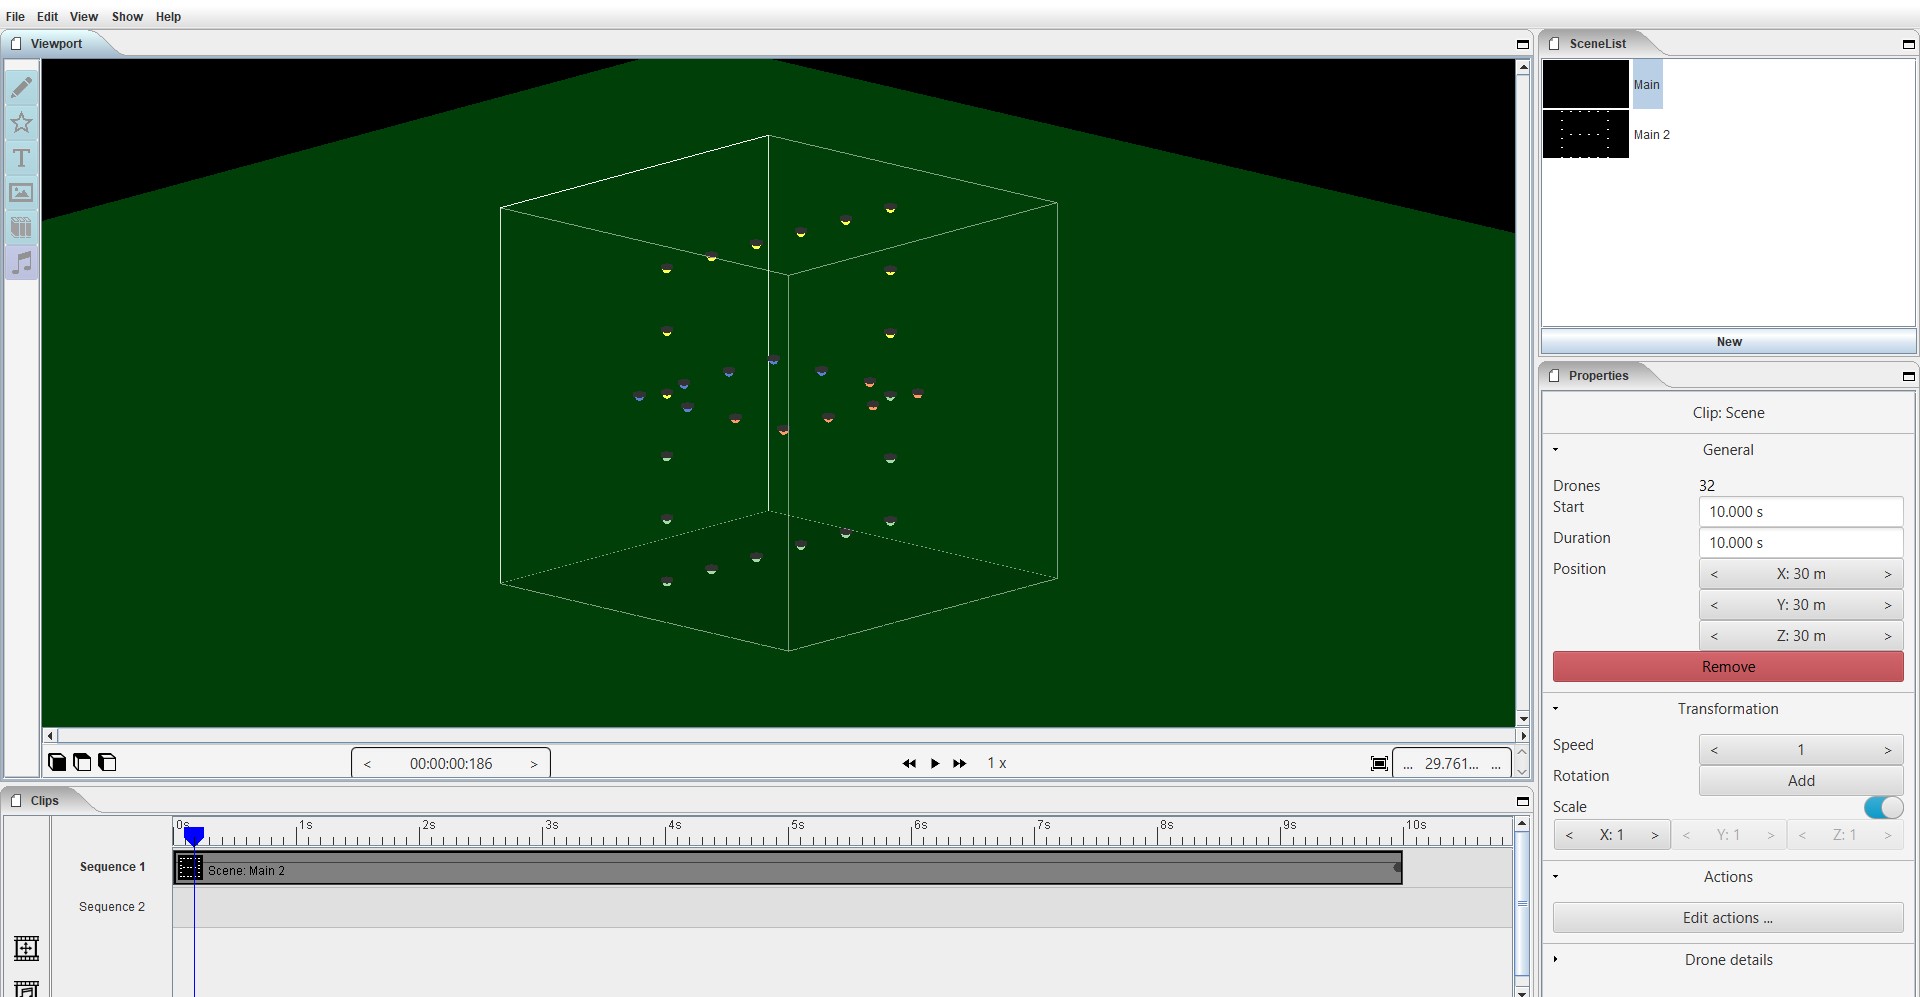
By default the view of the show will be a front view. This is the view the public will have when viewing the show. Some shows are designed to be viewable from multiple locations or during the designing stage it might be needed to view from another angle.
The viewport enables you to view the show from any angle.
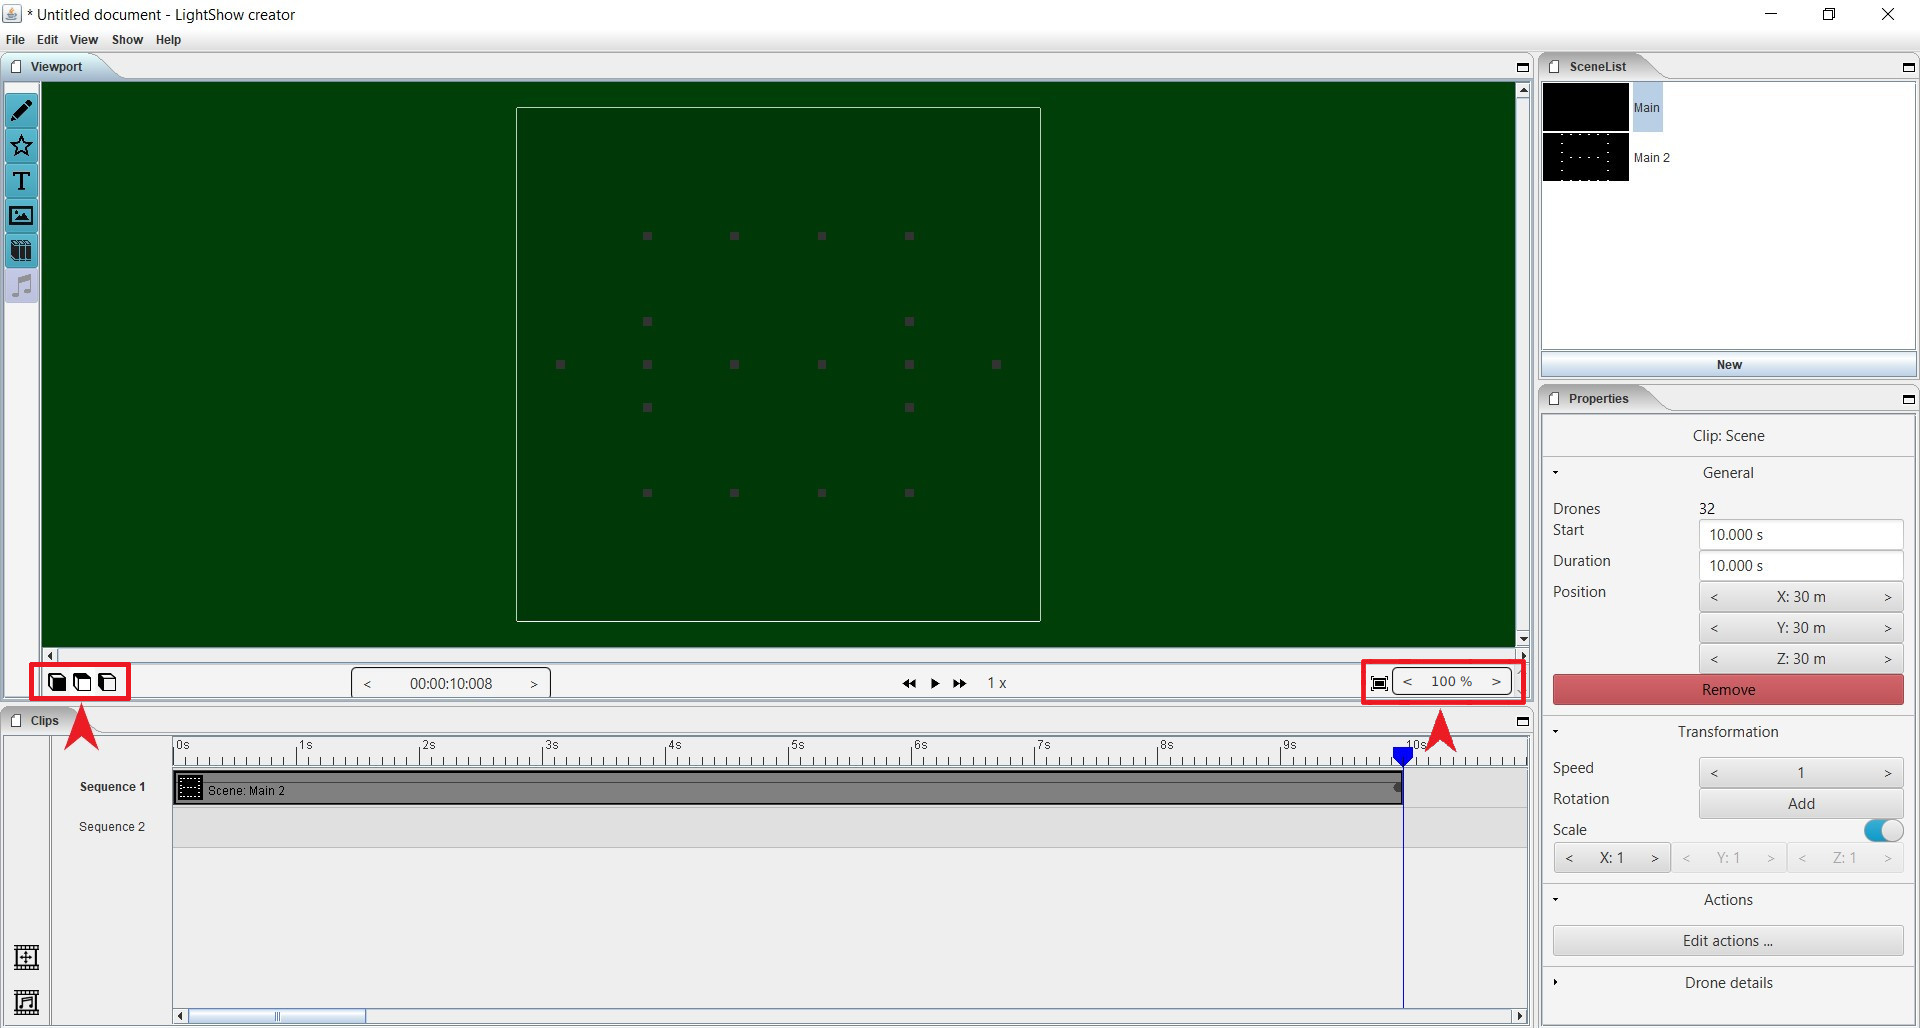
At the left side of the viewport some partical shortcuts are located. These buttons allow to directly see the “front”, “side”, and “top” view.

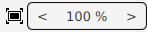
The zoom buttons are located at the right side of the viewport. The first button is a “auto fit”. Which will make the full fly area visible. The button nexto shows the zoom-percentage.
Also when the viewport is active you can also use the numpad the rotate the view.
Press 4 - 6 to rotate left/right
Press 8 - 2 to rotate top/bottom
Press 7 for top view
Press 1 for front view
Press 3 for side view