4.9. Use of keyframes in actions
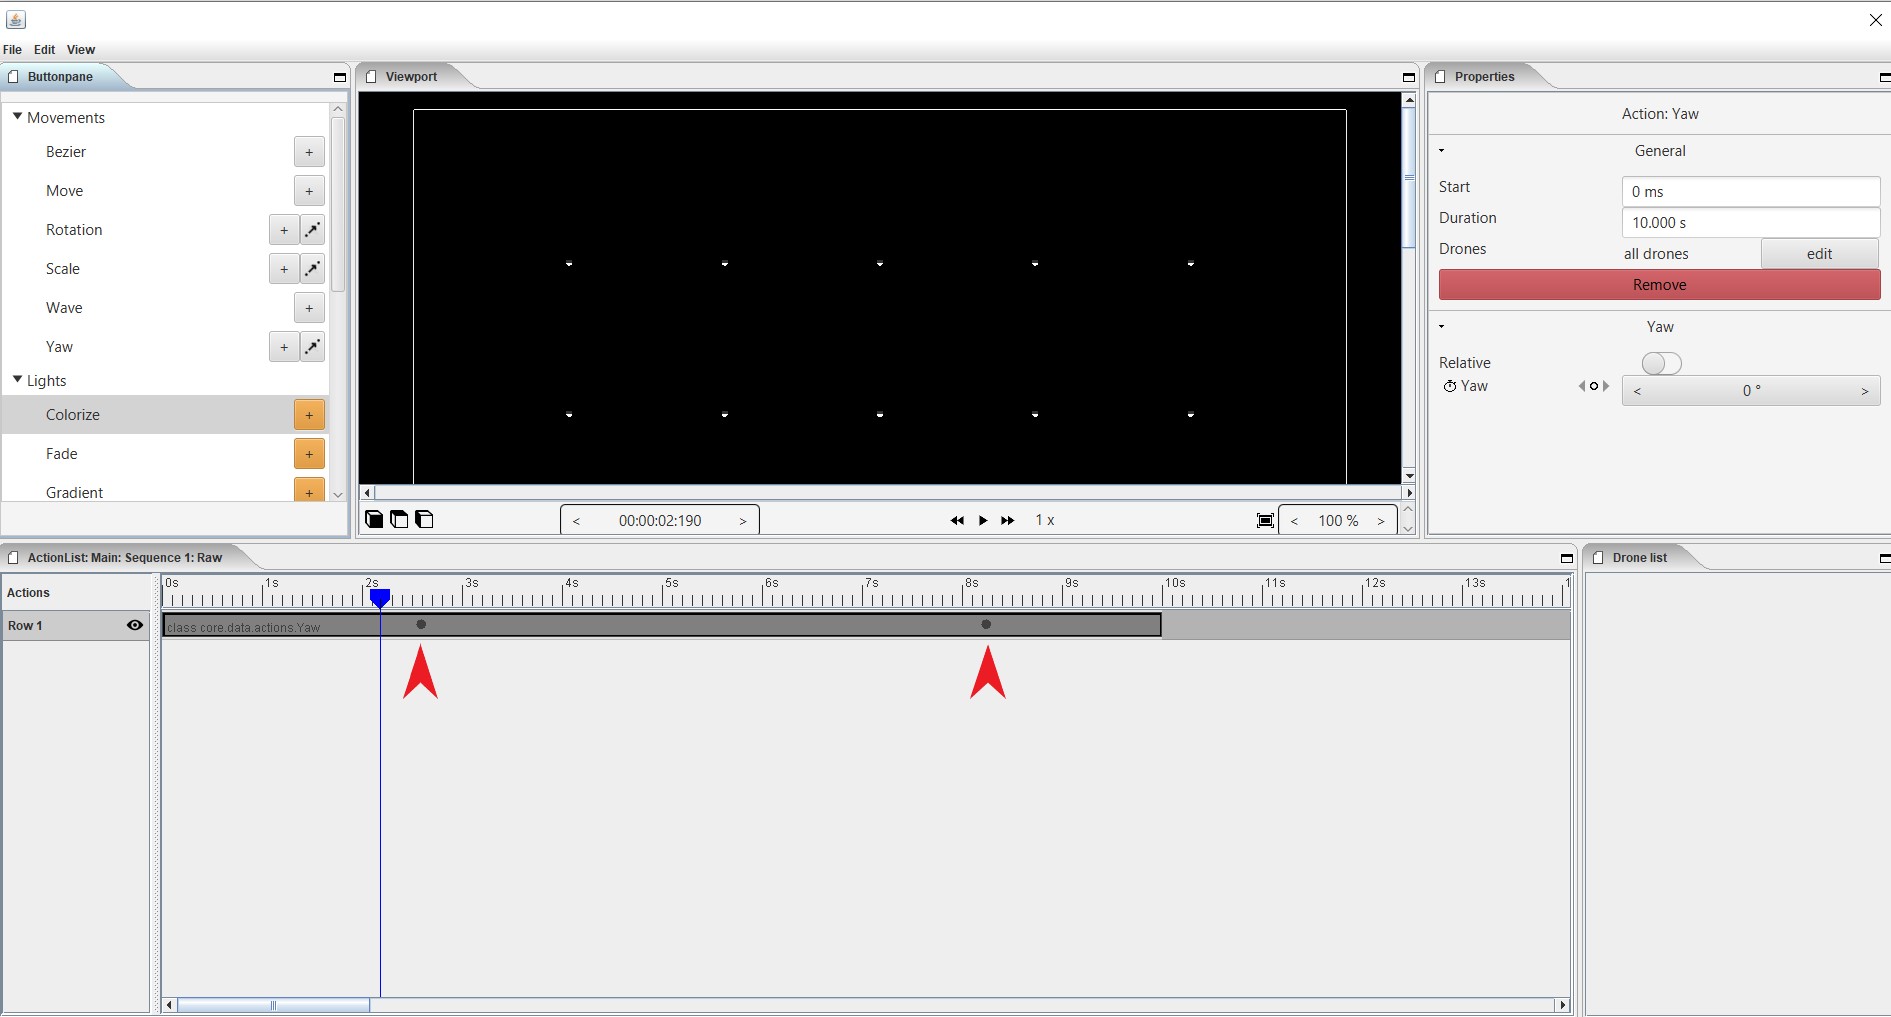
With keyframes you can add transitions between two states in your actions. This works with a start and end point that you place on your clip. The effect will then be executed between these 2 points. These two points can be repositioned.
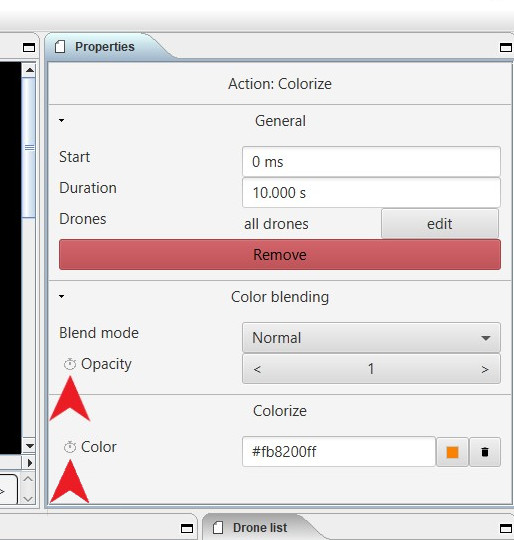
To see which properties support keyframes, locate the “stopwatch” icon on the property.
4.9.1. Add keyframe
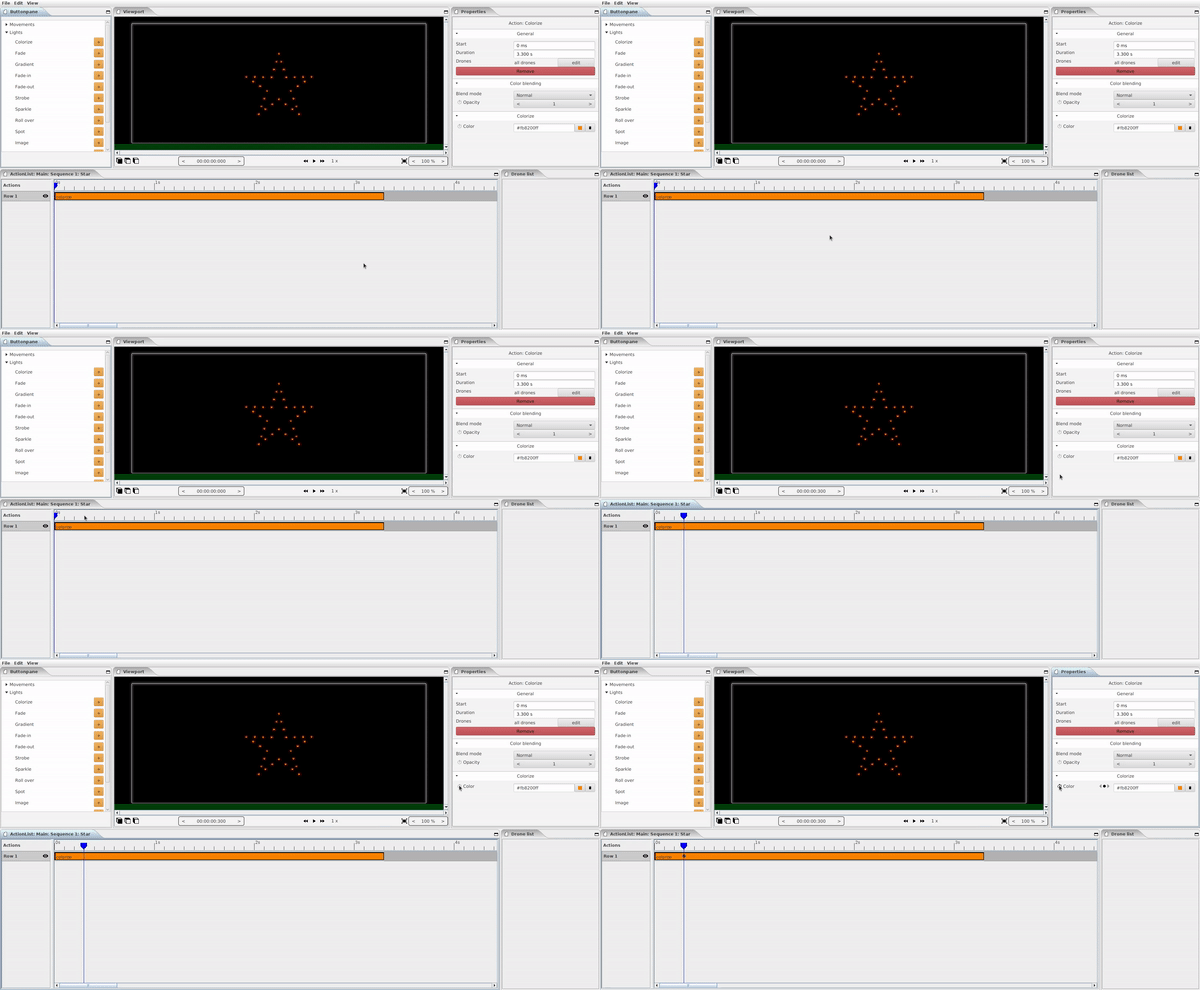
When pressing the “stopwatch” icon keyframes will be enabled and a keyframe will be added at the current time. This keyframe will take the current state.
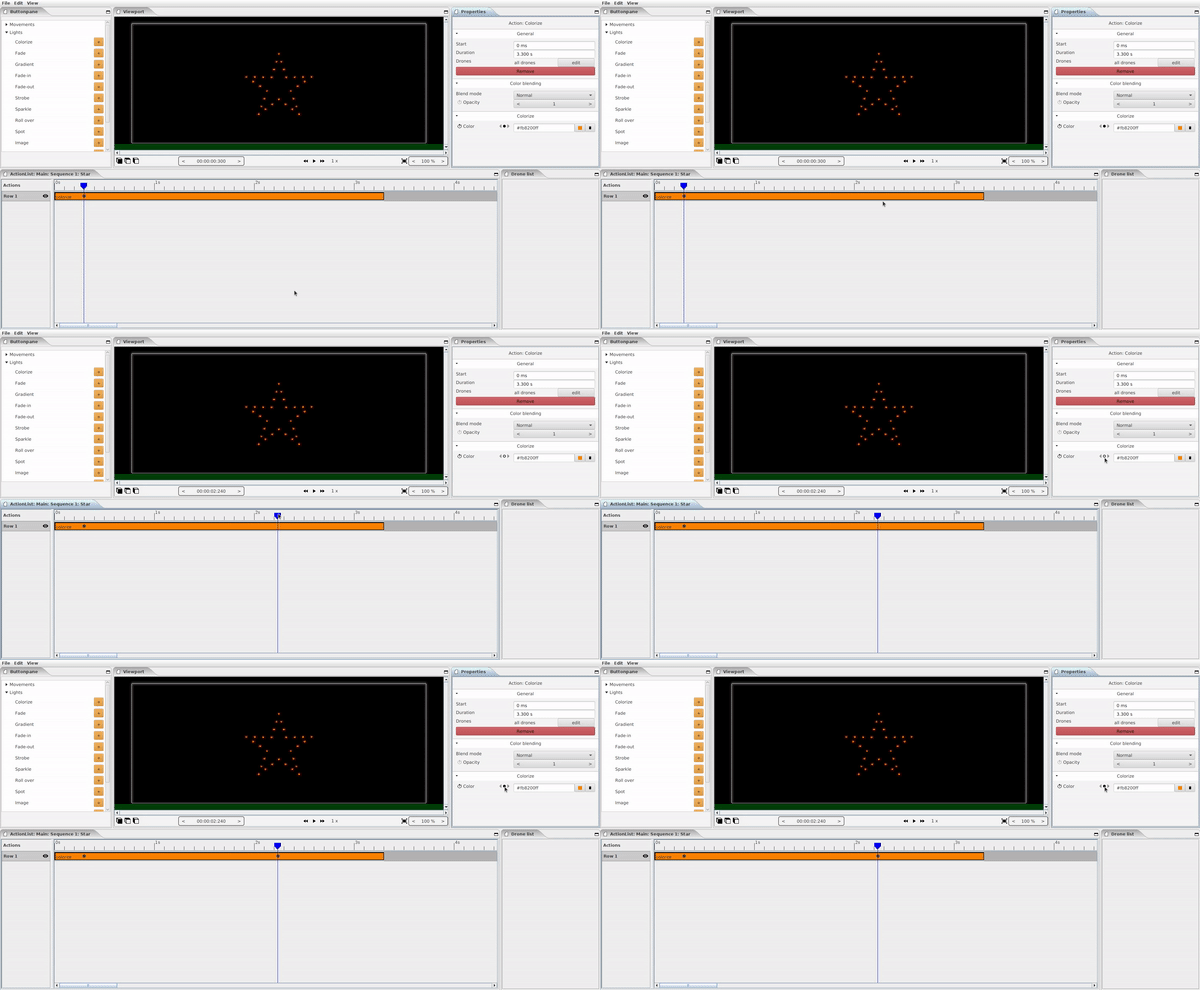
Now you have the begin state captured in the keyframe. To create an endstate you need to create another keyframe. This can be done by moving the time to the wanted position and pressing the “black circle” next to the “stopwatch” icon.
As a result we now have two keyframes, both capturing the same state. In this case both keyframes are made on the color property and both are currently orange.
Now we can alter the state of the keyframes by selecting the keyframe by clicking on it. And adjusting the state of the property.

4.9.2. Move a keyframe
You can move a keyframe by drag and dropping the “black circle” in the action.
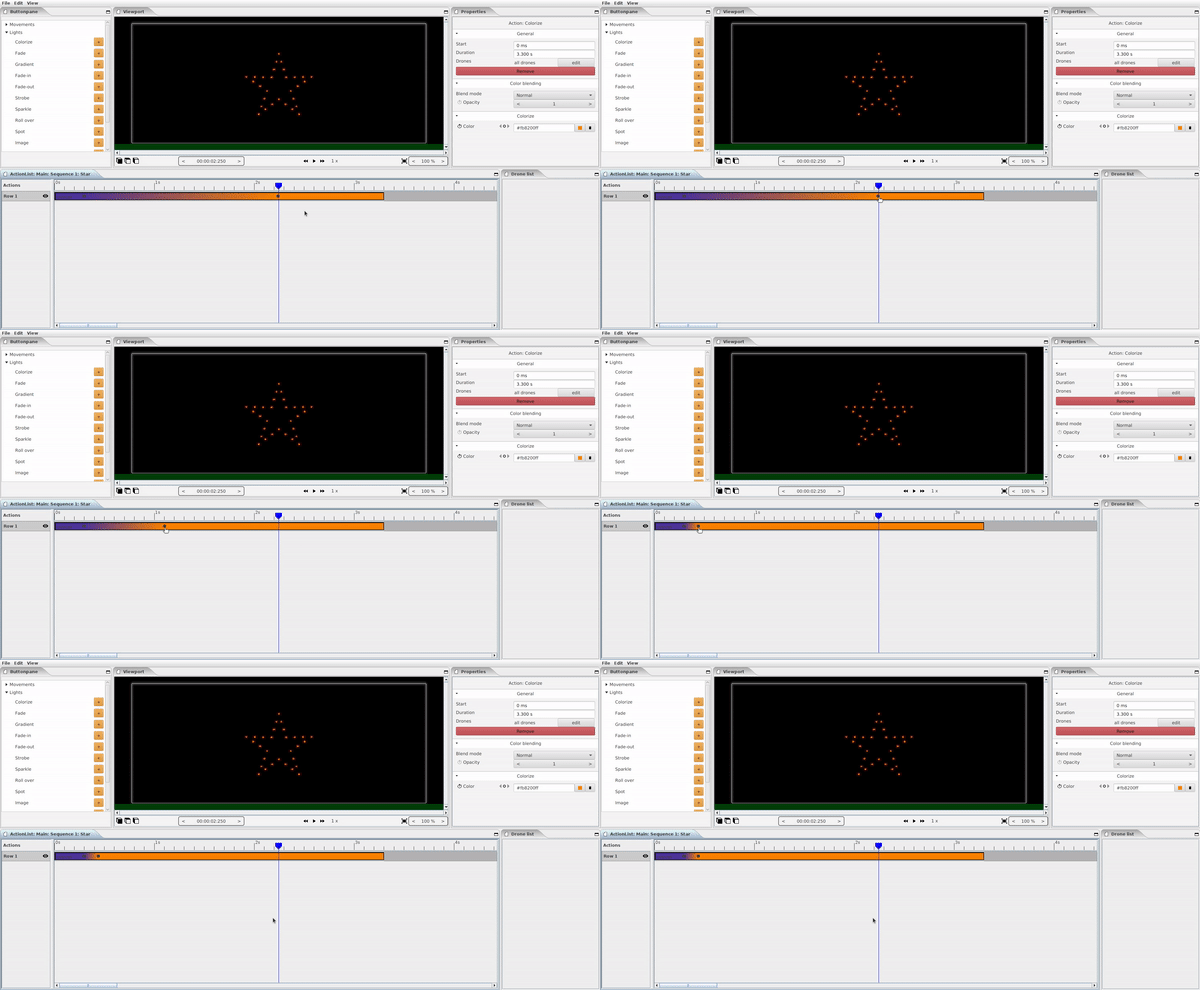
4.9.3. Remove a single keyframe
First you need to select the keyframe on the action in the timeline. Afterwards you click on the “black circle” in the properties pane. That will remove that keyframe.
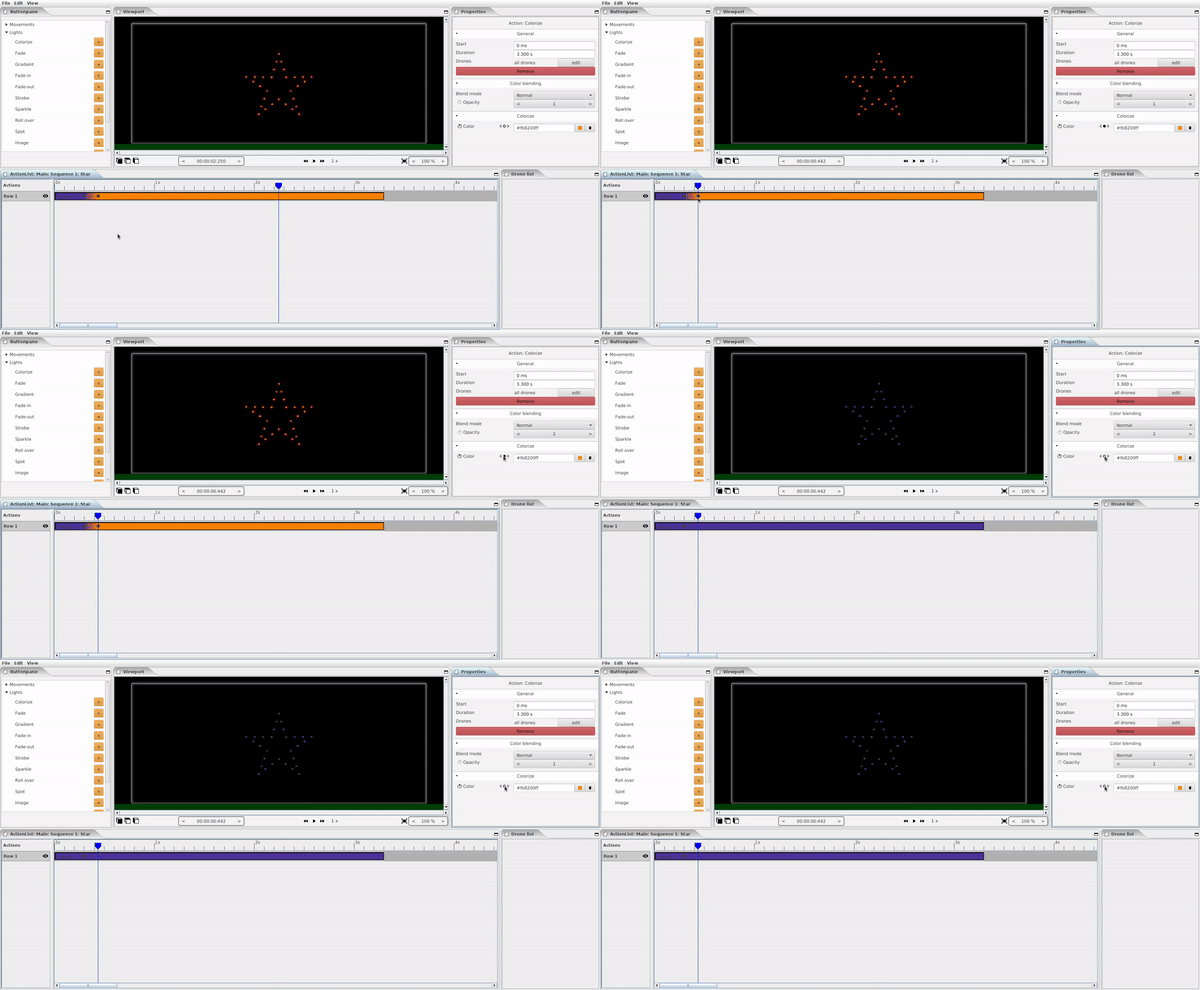
4.9.4. Remove all keyframes
You can remove all keyframes of a particular property by clicking on the “stopwatch” icon next to it.
